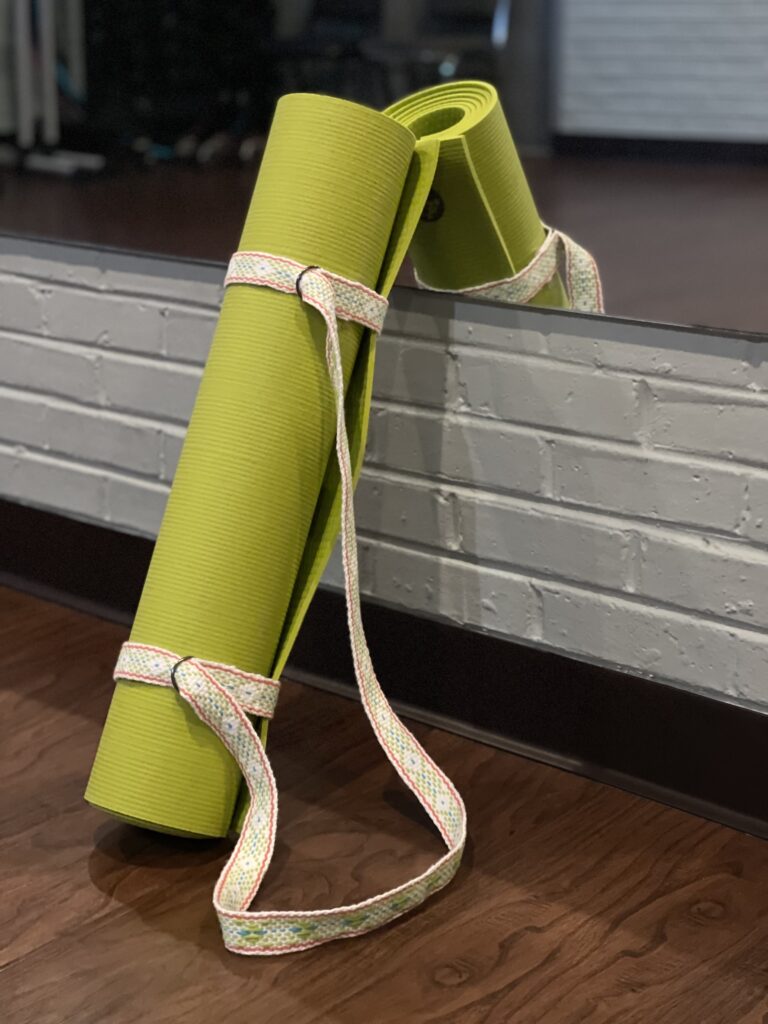
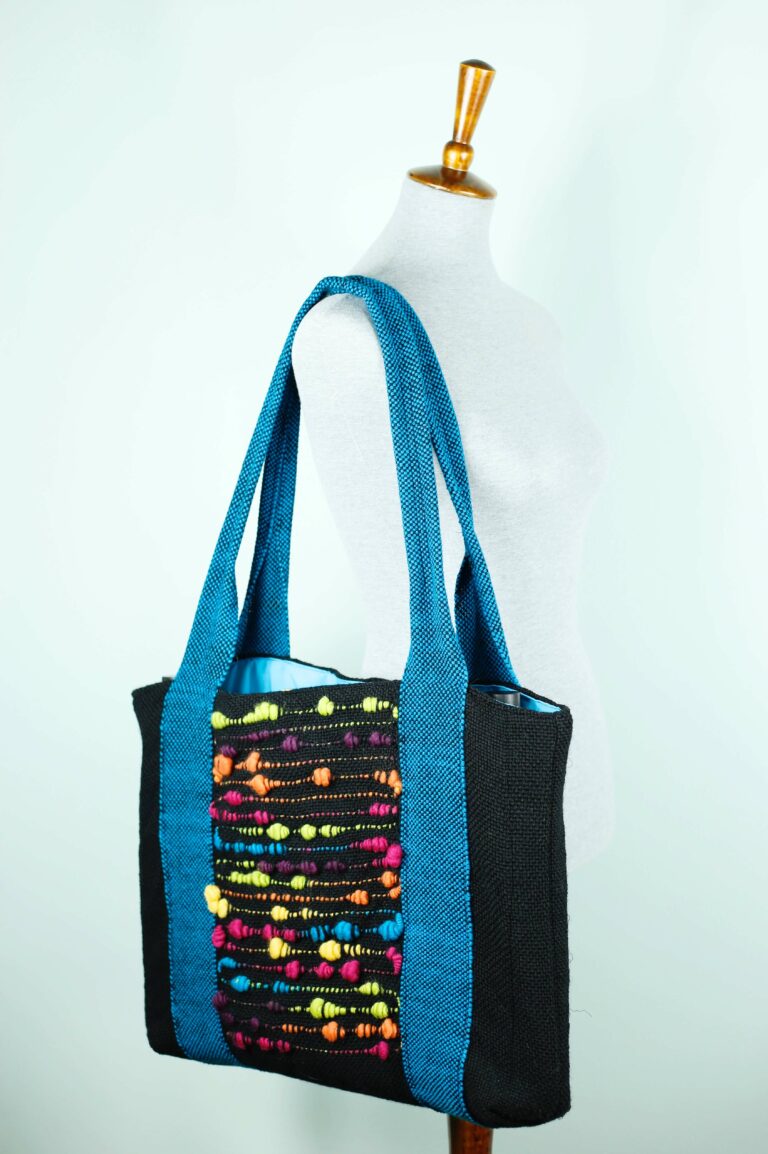
Woven Yoga Mat Strap
Create your own yoga mat strap using this simple version of Baltic Strap weaving.
Supplies:
Worsted Weight Cotton Yarn in 4 colors
4” 8 Dent Heddle
4” or 8” Stick Shuttle
2 D Rings 1.5”
Back Strap: This can be as simple as a belt or a strong rope secured around your waist.
This project will be warped in a completely different manner than our usual loom warping method.
Begin by cutting 3.5 yard lengths of yarn.

If you have a Kromski Harp Forte or a warping board, the process becomes much easier. If not, no worries—simply measure and cut each length individually.
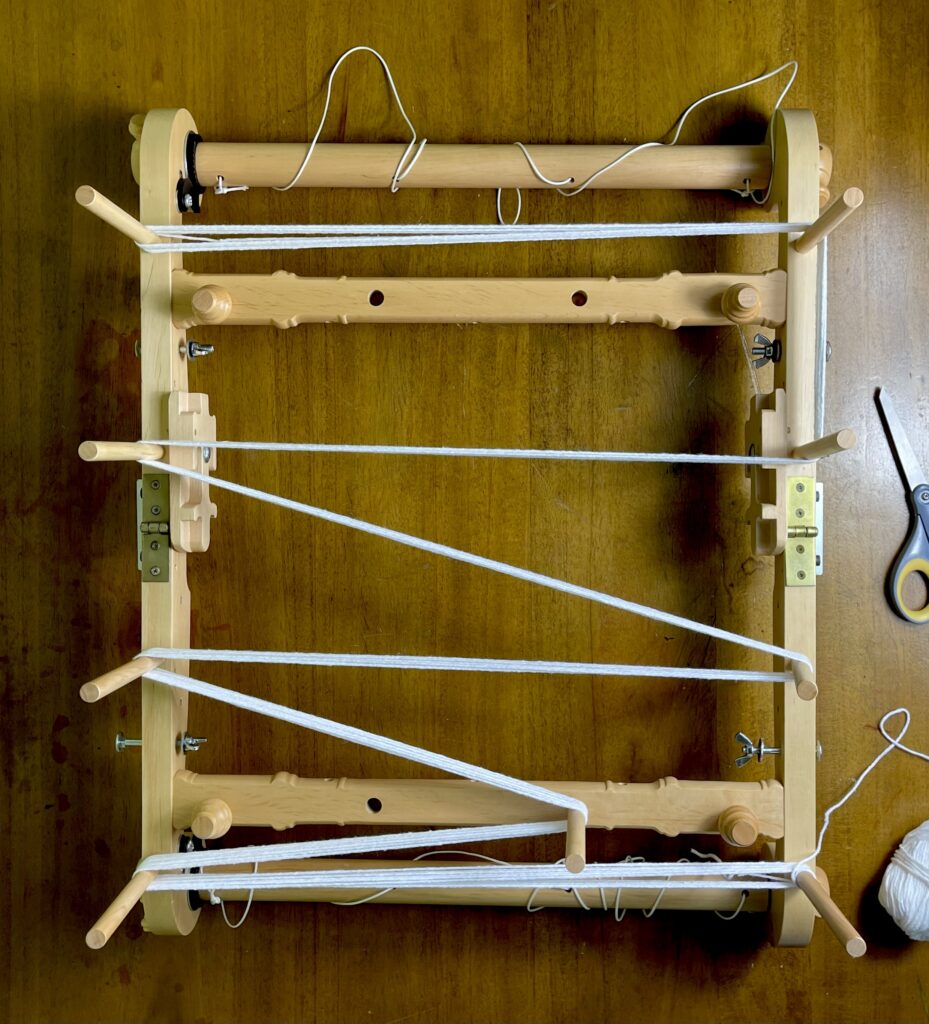
Find something to hold the 4″ heddle upright.
I’ve used a Kromski warping clamp to hold mine.
Drape the warp yarns over a chair or similar so that you can pull one strand at a time to warp the heddle as follows, beginning on either side.

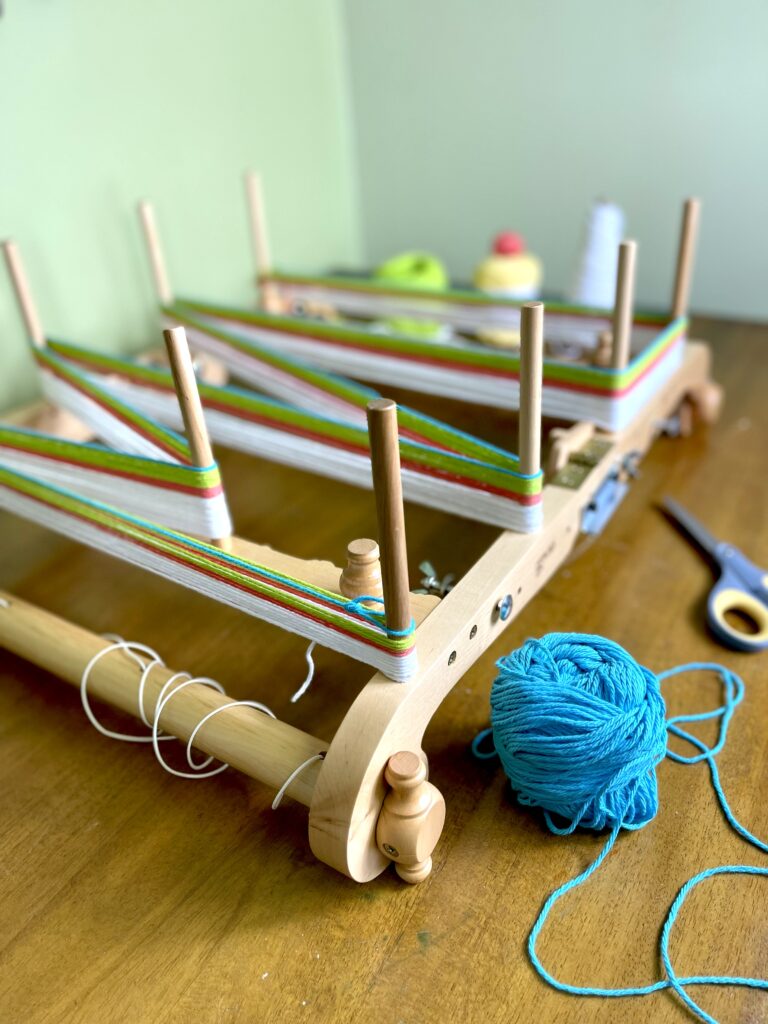
First – 2 white, 2 pink, 2 white. This will form the border.
Then – 1 green, 2 white (3 times)
Next – 1 blue
Followed by – 2 white, 1 green (3 times)
Finally, the other border – 2 white, 2 pink, 2 white.
Lay the warp across a table as you warp one strand at a time.


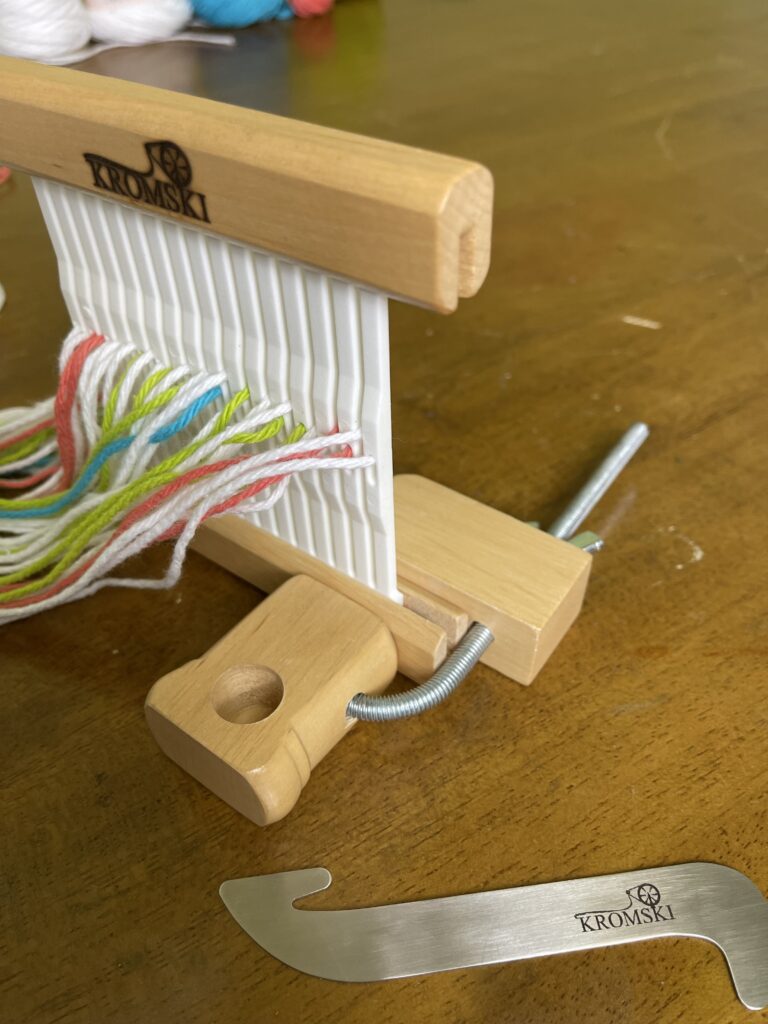
Once the heddle is warped, even out the ends behind it and tie them in a knot.
Create a slip knot at a point along the warp that allows for comfortable weaving, and attach it to a peg or doorknob.
Before starting to weave, smooth the warp. Tie a temporary loose knot at the far end to prevent the heddle from slipping off.
With the far end secured to your peg or doorknob, smooth the yarn to ensure even tension, then securely re-tie the front end of the warp. Moving the heddle along the warp can help untangle and even out the yarn.
Load the stick shuttle on one side only with white yarn for the weft. Leave the other side empty, using it in place of the heddle to beat the yarn after each pass.
Attach the back strap or belt around your waist and connect it to the weaving. Tie a piece of yarn to the warp knot and then to your belt—a simple, easy-to-untie knot works well for advancing the weaving. You can sit in a chair or on the floor, whichever is most comfortable.
Keep your pattern and shuttle within reach as you begin weaving.
Let’s begin weaving!
FFirst, we will secure the end so that it won’t unravel when we are finished.
- Lift the heddle and pass the shuttle from right to left, leaving a 6” tail.
- Lower the heddle and pass the shuttle from left to right. Bring the tail through the same shed, pull the tail and weft snugly against the edges, and press down firmly with the shuttle (NOT the heddle).
- Raise the heddle and pass the shuttle through again. Keep the shed open and pass the tail through once more, making sure the selvage edges are snug.
- Lower the heddle one more time and pass just the shuttle through. The tail can be trimmed once the strap is finished.
We are now ready to begin the pattern. Note that the side edge border is not drawn out over the entire length of the pattern, as it will be worked in plain weave throughout. You may also notice dots on some of the pattern squares; these indicate threads lifted by the heddle. If a square is not colored in, those threads should be pushed to the background.
Let’s take a closer look at that.

The 1st section is plain weave. All of the pattern colors have dots, therefore we know that they will be engaged by the heddle.
Weave this section for 4”.
The 1st row of the pattern repeat (the section within the yellow box) shows that the center thread, a blue thread, is lifted, because we see a dot, but it is not colored in.
We don’t want that thread at the top so it will need to be pushed back below the shuttle.
To do this, insert the shuttle into the shed and pack down the warp. Then pull it out and reach in with your fingers to move the blue thread to the back. Replace the shuttle while holding the blue thread to the back. Pass the shuttle and prepare for the next pass.
*This may be much easier to understand through the video which you can find here.
The second pattern row shows that two green threads are lifted. We can tell this because of the dots. Since they are not colored in, they should be pushed to the back, just like in the previous row.
Continue in this manner, repeating the pattern as many times as needed to reach a 2-yard length.
Weave the bottom section again for 4”.
If you’re having trouble keeping your selvages even, try this handy little trick.

Fold a piece of card stock 4”x3” lengthwise into thirds, making a thick 1”x4” piece. Now fold that in half and place it around the strap. Wrap tape around the edges that stick out past the strap. Draw a line on the paper the same width as your strap.
Now you have a template that you can slide along as you weave and check that your strap width is consistent.
To finish the end so that it won’t unravel, you will need a piece of yarn that is thinner than the yarn you are working with. It only needs to be about 8” long. Fold that yarn in half.
Pass the shuttle through normally. Before you change the shed, place the folded yarn into the same shed so that the loop is on the opposite side of the shuttle.
Change the shed and pass the shuttle back to the side with the loop of yarn.
Cut the weft, leaving approximately an 8” tail.
Draw the end of the tail through the loop of thinner yarn. Do not pull it snug.
Pull gently on the thin yarn. It will pull the end of the weft through the row of weaving below the last row. Pull until the end of the tail is free and discard the thin yarn. Tighten the selvage if needed before trimming the tail. The weft is now secure and the band can be safely cut from the heddle.

Trim the ends so that the fringe is about 1” long. Once the D-Rings are firmly attached you can trim it further.
To make the strap into a Yoga Mat Strap attach a D-Ring on either end. This is best done on a sewing machine, but can be accomplished by hand f a machine is not available.
Run one end of the strap through the D-Ring and fold over 1 inch towards to back side of the design. Stitch a square with an X on the folded area.

This will create a nice strong attachment.
Repeat this on the other side.
Pull the strap through each D-Ring and slide the loops over your mat. To do this, simply push the strap through the D-ring, with the raw, sewn end to the outside. Keep pulling the part of the strap that is nearest the end until the sewn “X” flips through to the inside of the loop. Repeat this on the other side.

Now you are ready to take your Yoga anywhere!