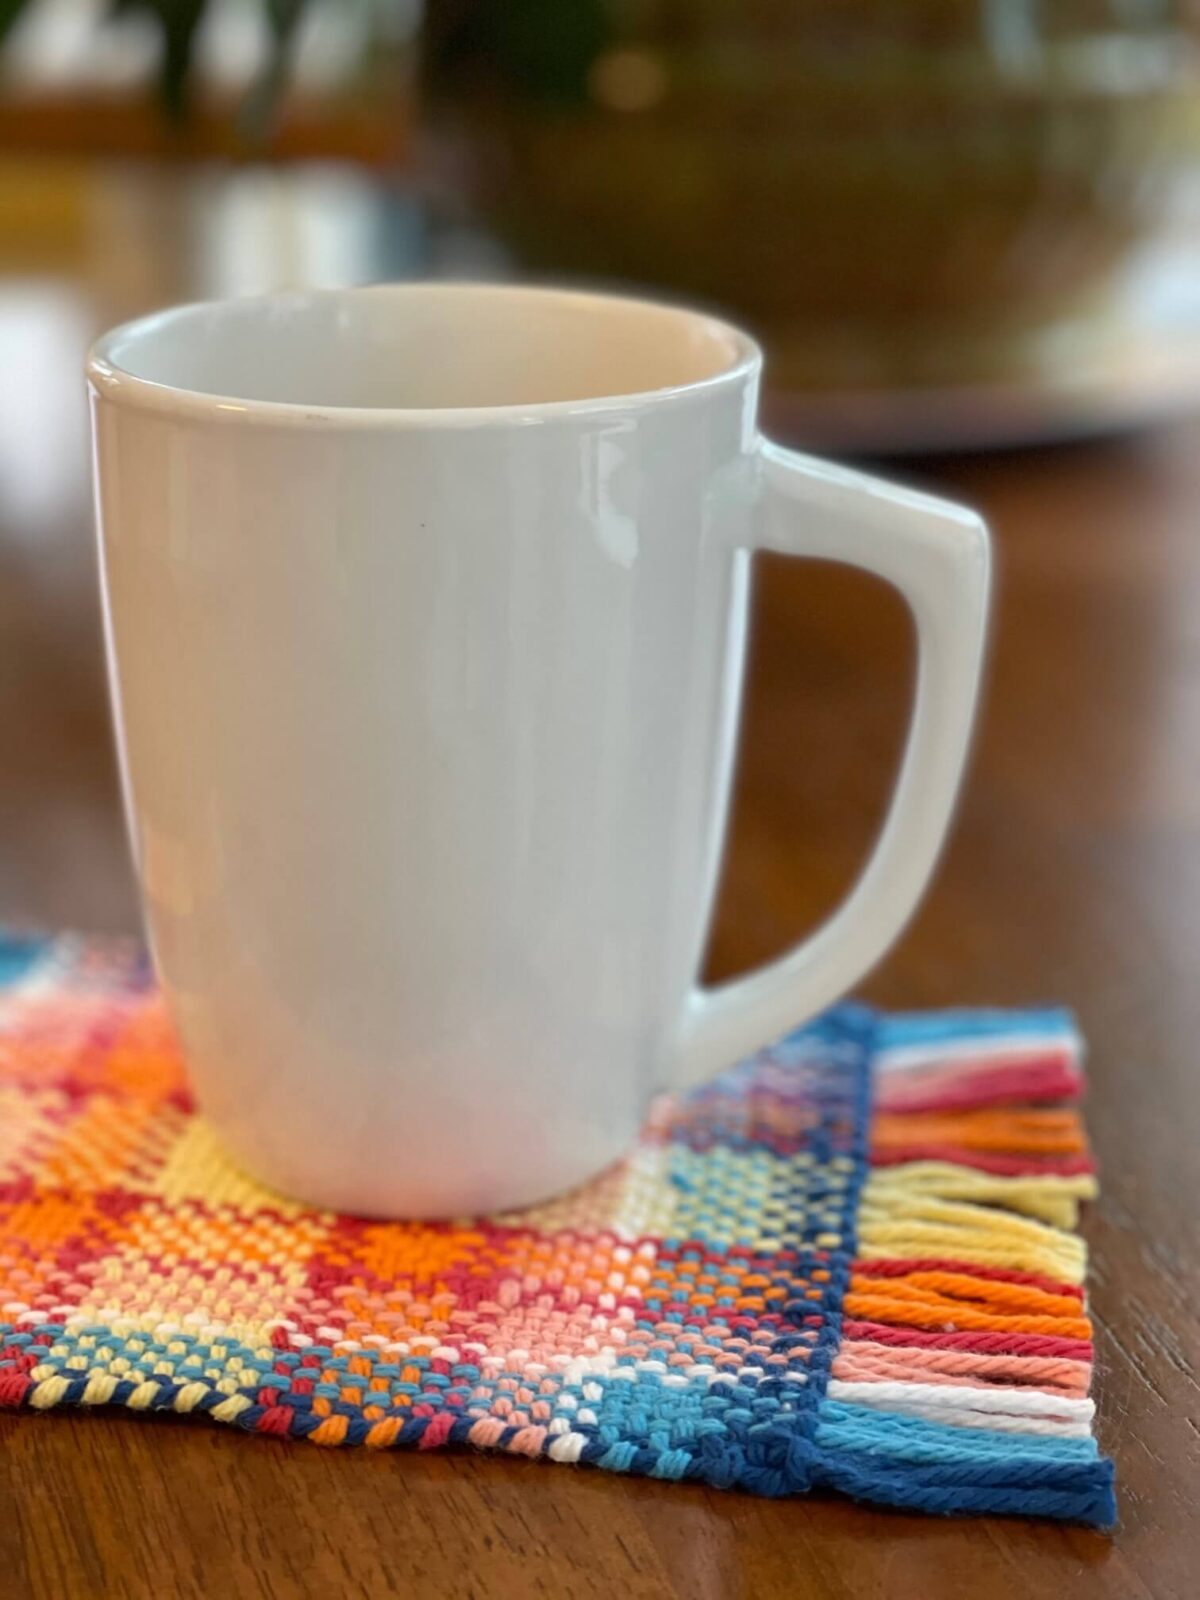
January Mug Rug

This is the first of our series of Mug Rugs. The patterns are free for you to enjoy. To view the introduction sheet please visit the Mug Rug overview page.
This month’s Mug Rug is inspired by the promise of a new day. With the arrival of 2021, it’s safe to say we’re all ready to leave 2020 behind.
The central “sun,” framed by warm sunrise hues, kicks off our Year of Mug Rugs by introducing a simple—but essential—technique: changing colors while weaving.
Our Mug Rug was woven on an 8″ Harp Forte, but could just as easily been done on one of our larger looms or the Presto.
Keep in mind that there are several ways to change colors in weaving, but here we’re using the simplest method. Another approach could be to carry the new color up along the edge. However, with the spacing in this design, that would create long floats and extra bulk along the selvage.
You could also use a Russian Join to connect yarns during a color change, but that’s a bit more advanced, and for this project, I wanted to keep things straightforward.
Check the Welcome Sheet for recommended yarn choices and instructions that will be used throughout the Year of Mug Rugs series. One skein or ball of each color (about 120 yards of worsted-weight cotton) is sufficient for this project.
We will begin by warping the loom as follows, with a 1.5 yard warp:


The weft colors will match the warp in both hue and number of rows, except for the dark blue section. Instead of weaving just 2 rows, you’ll work 4 rows with the dark blue first.
Remember to leave enough yarn for hem stitching, as outlined in the Welcome Sheet.
After completing the dark blue, bring the yarn back through the next shed and down through the bottom of the weaving, about 2” in from the edge. Trim the yarn, leaving a tail roughly 2” long.
Next, switch to the light blue—the next color in the sequence. Overlap the dark blue by about 1” and pull the tail toward the back as well. (You can bring all the tails to the front if you prefer, but I find that visually distracting.)
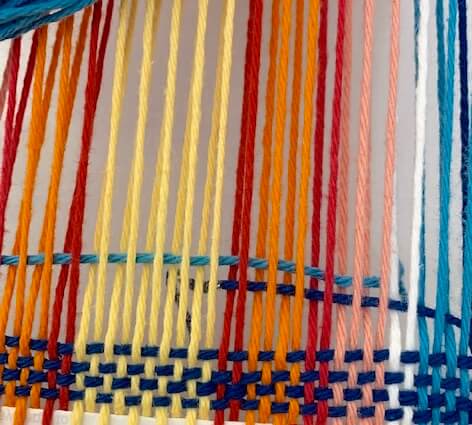
Weave the required number of passes with the light blue yarn (four in this example). Keep in mind that the count includes the row of dark blue shown in the photo. The tail of the light blue will complete the fourth row on the right side.
To prevent any bulk from the overlapping yarns, position the end of the light blue tail slightly to the left of where the dark blue tail finished.

Next, the white will overlap the light blue, just as we did previously with the dark blue.

It’s really that simple. With each color change, shift slightly to the left. Then, once the overlaps approach the left edge, start working back toward the right side. This helps spread the overlapped yarn evenly across the weaving and prevents the Mug Rug from looking uneven.
You may notice small spots that appear to have an extra row of color—don’t worry, this is normal and won’t be noticeable in the finished piece.


Some weavers prefer to keep all color changes at the edges, alternating from one side to the other. I’ve found that with frequent color changes—especially using thicker yarn—the weft can become uneven. Shifting the overlaps along the width of the piece tends to work best for this project.
On the final pass of the dark blue, you’ll only have three passes at the edge without overlapping a new yarn. Cut the yarn, leaving enough length for the hem stitching.
Complete all four Mug Rugs, separating them as explained in the Welcome Sheet. Recommendations for wet finishingyour project are also included there.

I hope this has helped you feel more confident with changing your weft colors.
You may also notice that this technique is essentially the same as what you use when adding more of the same color after your shuttle runs out.