Crewel Embroidery… with Hand Spun Yarn
Most of the time when individuals mention (speak of) hand spun yarn to someone less acquainted (less familiar) with our craft, the image of woolen mittens and thick scarves comes to mind. Others, who are more familiar, may envisionknit or crochet shawls made out of a finer weight yarn.
But have you ever truly considered hand embroidery when you look at a spinning wheel?
Maybe after reading this you will!
Referred to as Crewel Embroidery, the method of embellishing with wool is not a novel idea (new concept). In fact, its prevalence (popularity) dates back as far as the 17th and 18th century. The Bayeux Tapestry is the oldest surviving instance of Crewel Embroidery. It originates from around 1066 and narrates the story of the Norman Conquest of England across a 230 foot wall hanging.

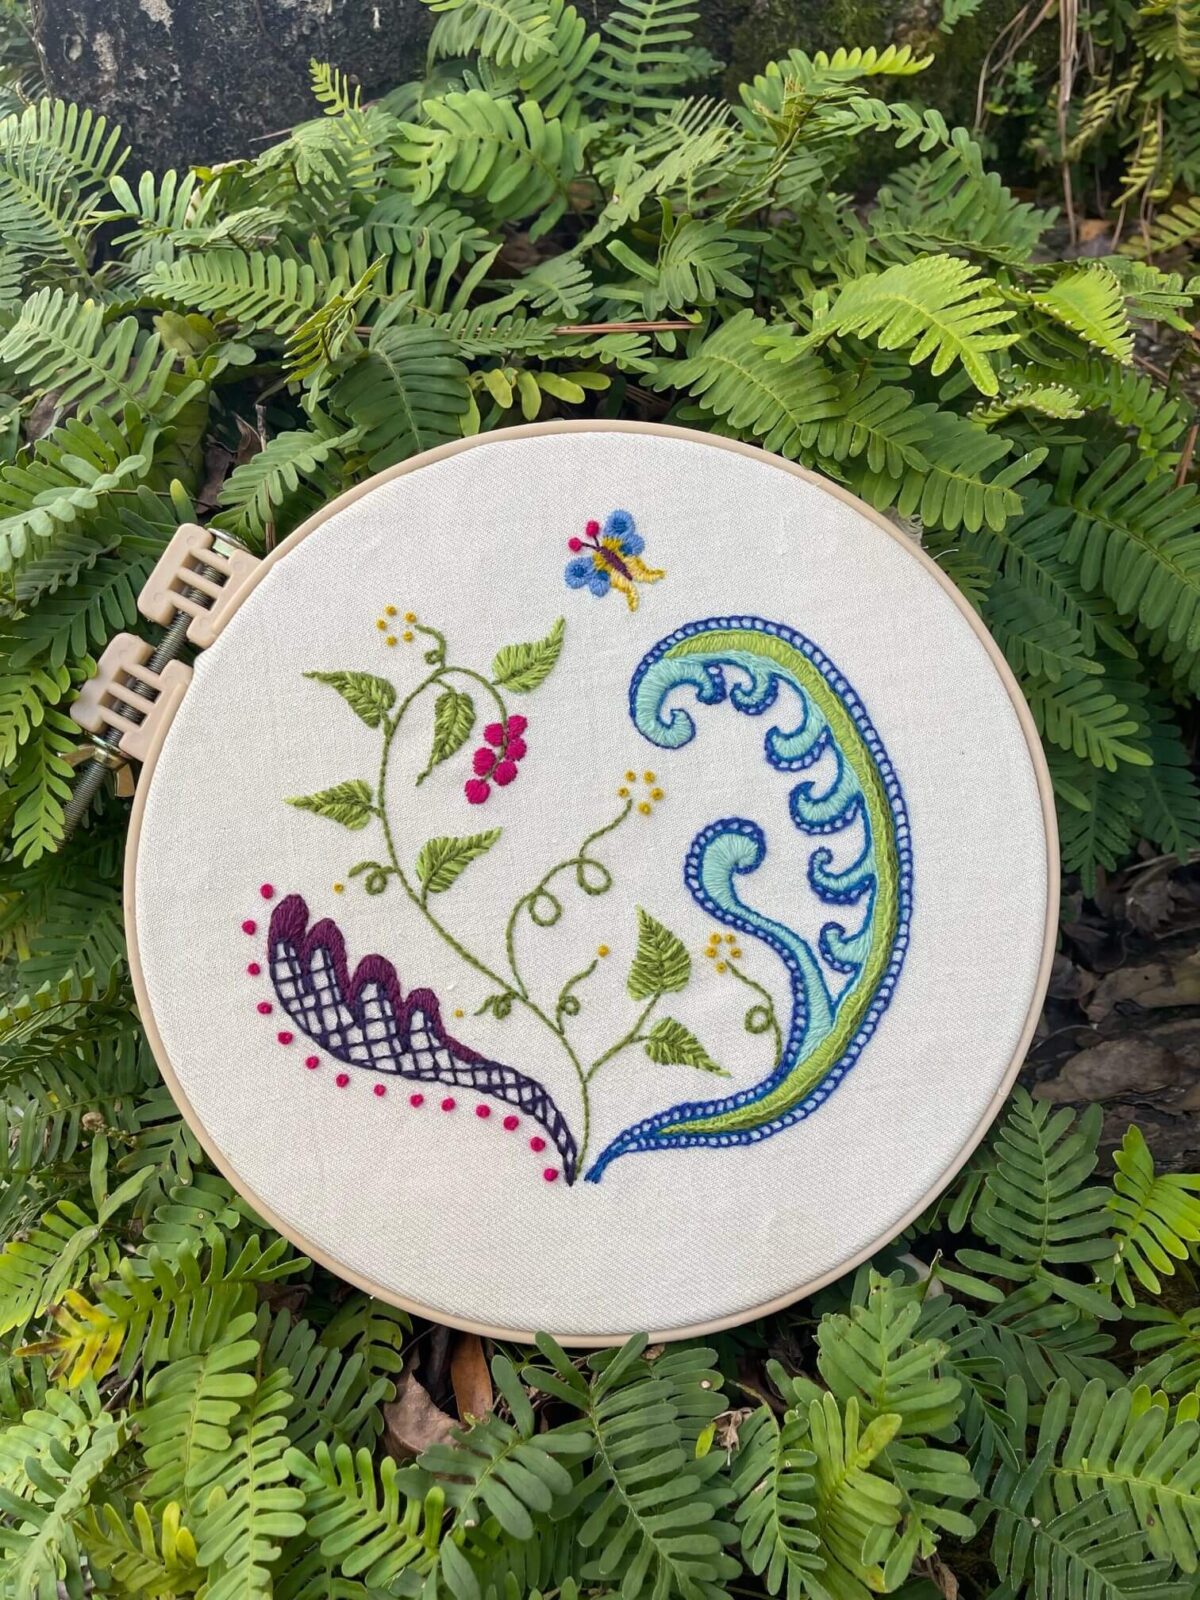
For our project today, we will explore a much more simplified design to hopefully inspire you to spin your own wooland create your own small bit of history with Crewel Embroidery.
Let’s start by gathering the necessary supplies.

First, you’ll want to decide on a pattern.
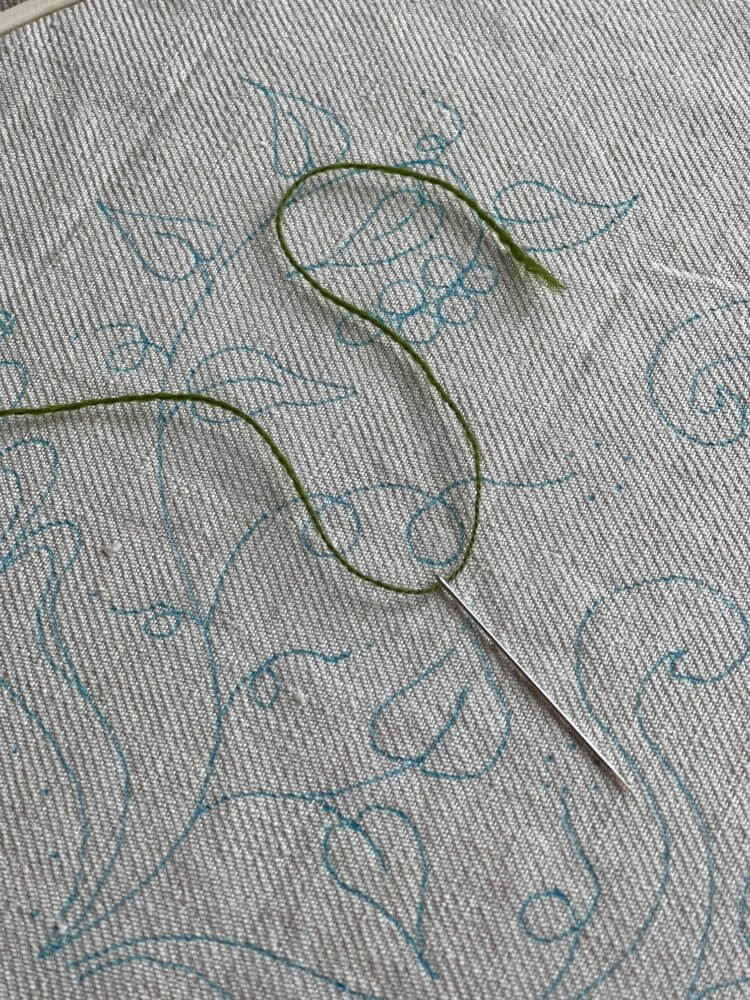
Our example is available to you as a pdf, or you can design your own. The pattern can be easily transferred onto the fabric with the use of a light box (or window). Although the ink lines should be covered by the embroidery, there are many specialty pens available that will disappear when a small amount of heat or water is applied should you make a mistake. You can also use a printable adhesive paper that will dissolve in water (I’m not certain this is the best choice for wool as it tends to have a sticky feeling as the yarn is pulled through), or any number of other methods to draw the design.
Traditionally linen is the common choice as the background fabric for Crewel Embroidery.
It is important to use a fabric sturdy enough to withstand the use of wool as a thread. Twill linen will hold its structure nicely. That’s what I’ve chosen here.

Other items needed are an embroidery hoop or frame. I prefer a hoop that is large enough to hold the entire project. The wool is thicker than traditional embroidery thread and does not take well to being pressed between the rims of a hoop. If the project is large, a frame might be a better choice.
And don’t forget the needle. Choose the smallest needle you can that will accommodate your thread. You may find a needle threader to be helpful as well.
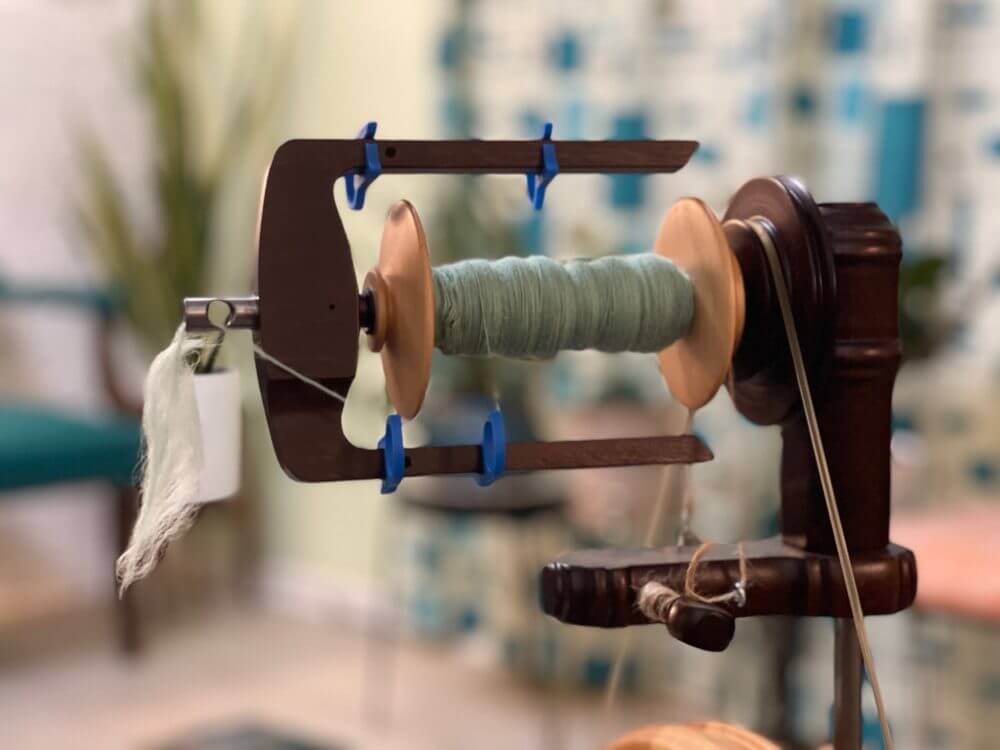
You will also need some wool roving in appropriate colors and of course a spinning wheel.
I’m using a Kromski Sonata equipped with the Magnetic Head and Polish Merino Wool.
If you are not confident when spinning very thin yarn, don’t worry. It just takes practice.
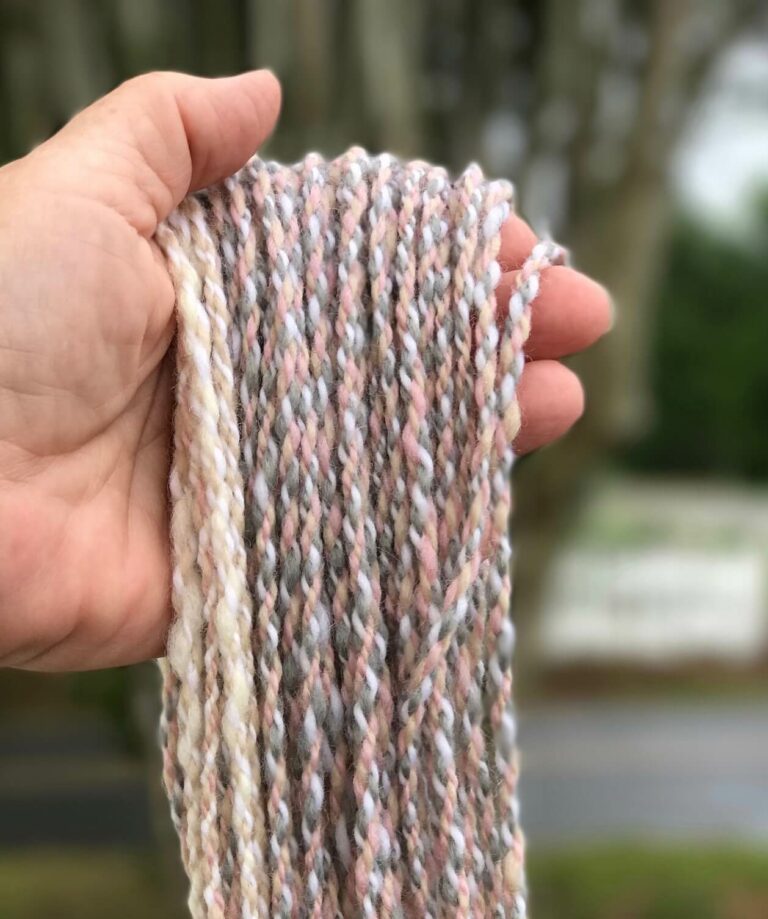
The yarn needs to have a good amount of twist on it, so lower the drive band to the smaller groove on the whorl.
Our finished 2 ply yarn must fit through the eye of the needle so we are aiming for about 28 WPI.
To determine the WPI (wraps per inch) spin several yards of wool. Then wrap it around a ruler and count how many times it wraps between the inch marks.

Check periodically to be certain that you are still spinning consistently at that size.
There is no need to fill the bobbin. You likely will only need 10-20 yards of each color. And you can always make more if you run out!
The purpose of this post is not to teach you everything about embroidery, but rather to inspire you to try something new with your hand spinning.
With that being said, I will only briefly go over the stitches used. There are many instructions and You Tube videosthat go into them with more detail available on the internet. There are also a few French Knots scattered about the tips of the vines and along the left side.

If you look closely, you may notice that my Fuchsia was spun a bit thicker, so the French Knots are larger than the Gold ones.
If you are wondering about the wool that was used, you may be interested to know that they are all available in our various Felt Packs.

Each pack comes with 4 different colors – 1 oz of each. And there are many to choose from!

This was a particularly fun project for me.
I did start out with a plan, but nothing is set in stone. Some of the stitches are imperfect and some colors used were not as originally planned, but that’s the fun of creativity!