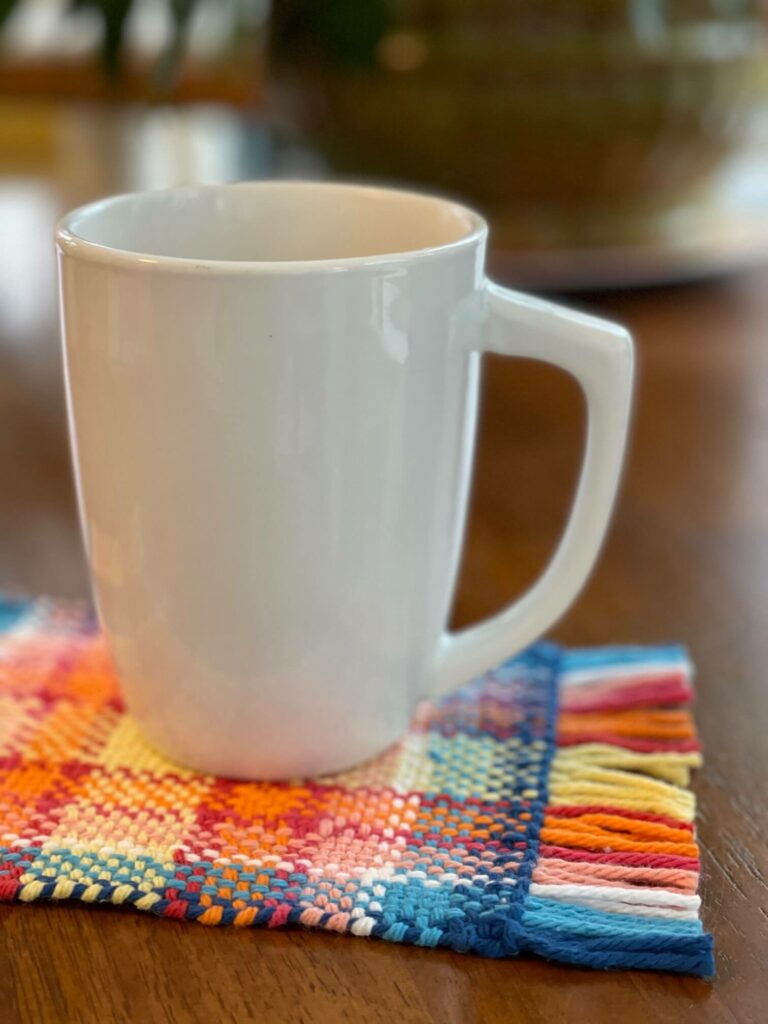
September Mug Rug
This month’s mug rug is a version of Waffle Weave (and who doesn’t like waffles on a September morning??)
You will need:
Worsted weight cotton yarn.
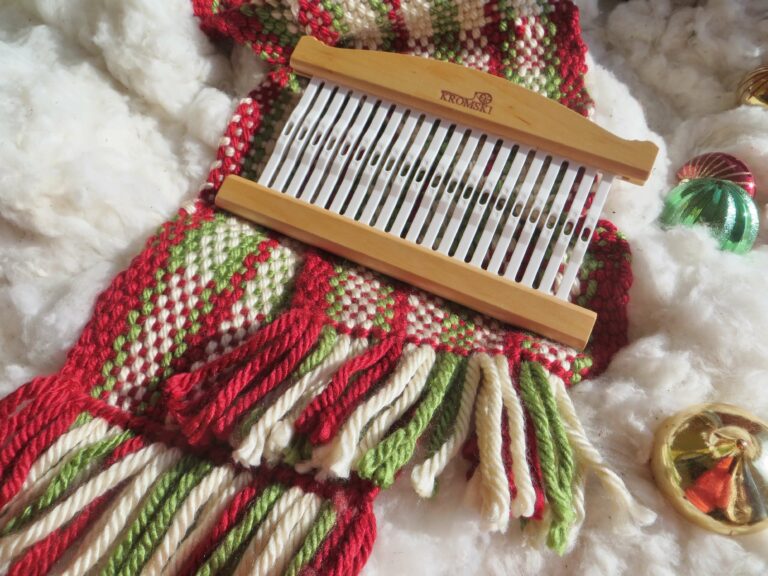
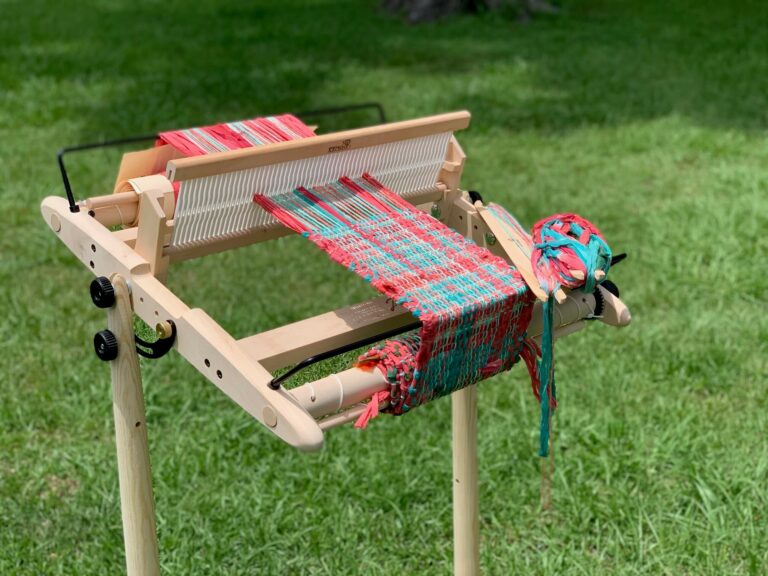
Rigid Heddle loom such as the Kromski Harp Forte or Presto
You will need:
- 8 Dent Heddle
- 1 Pick-up Stick
- 2 Shuttles
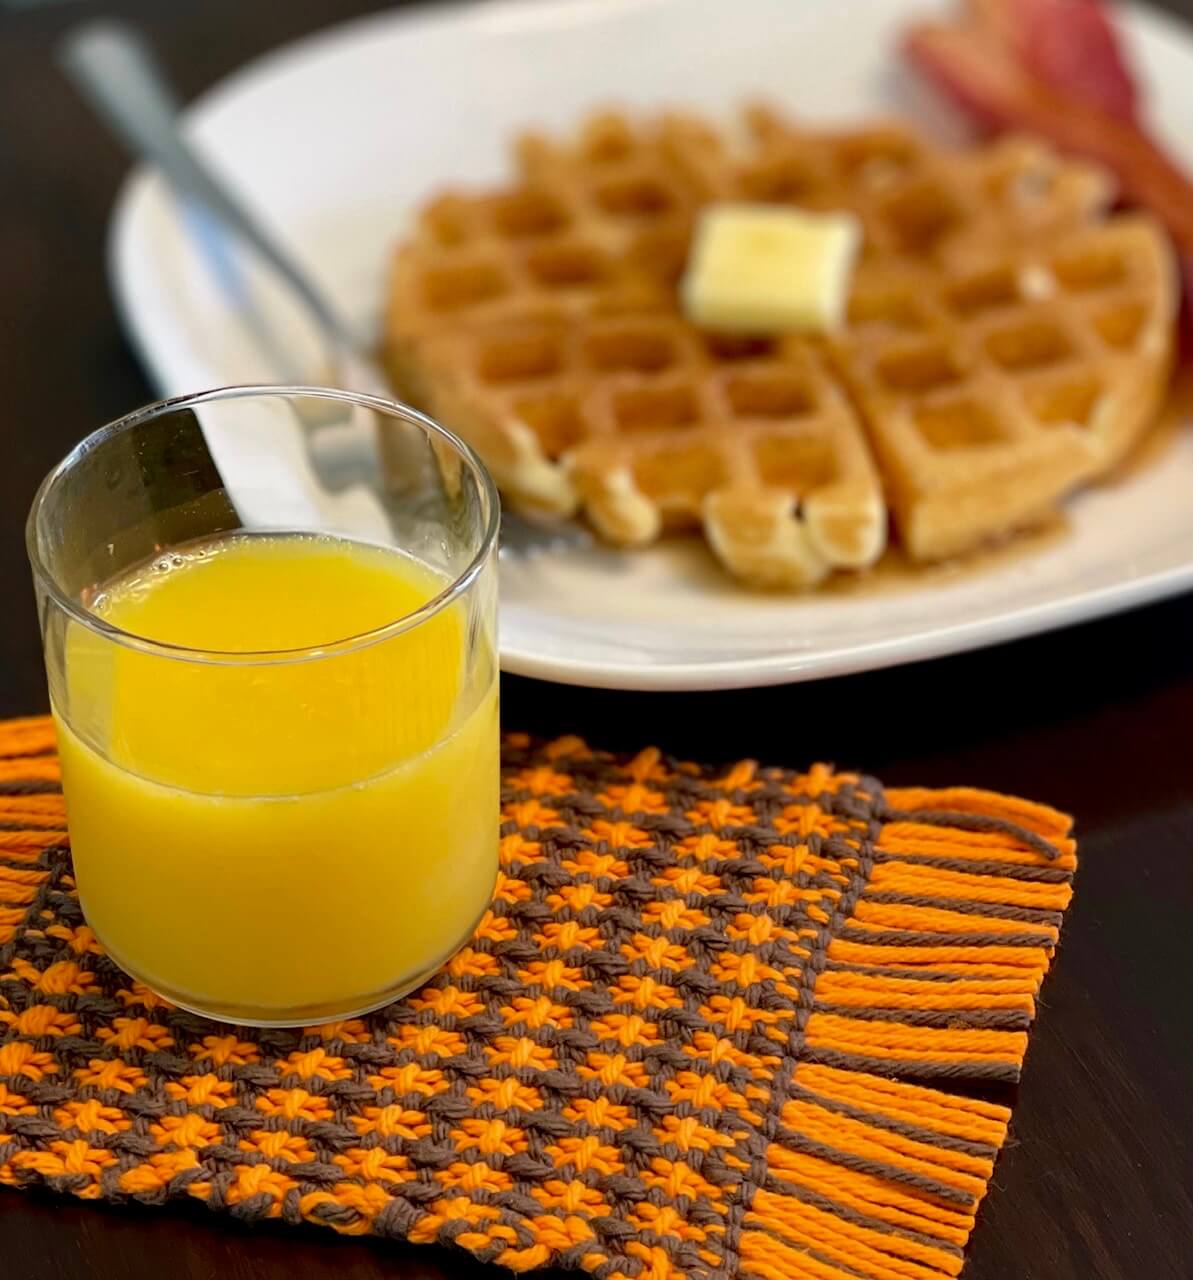
The sample pattern was woven using a light color (orange) and a dark color (brown). At the end of this post, you can see photos showing how these colors look when finished.
The sample was woven using a light color (orange) and a dark color (brown). Photos at the end of this post show how these colors look when finished.
You’ll also find examples of how a simple weft color change can create an entirely new look. My suggestion: if you’re new to this technique, start with a similar color scheme (light and dark) until you understand the pattern concept. Then feel free to experiment with multiple colors—or even try using just one color. Have fun!
Warping – Direct Method:
Pull through the 2nd loop, then cut the end at the peg, leaving enough yarn to tie. Using scissors to weigh it down helps keep it from slipping off the peg.
Place both colors behind the loom as usual.
Pull 1 loop of the light color through the heddle, starting in the 4th slot of the 8” harp.

#3) Pull out the loose end and tie it to the rear dowel so that it is ready for the next loop of light.

#4) Take the end (not a loop) of the dark yarn and pass it through the same slot as the single strand of light color that was cut at the peg.
Tie this end to the cut end of the light yarn at the peg. You have now created a two-colored loop.
Optional: You can also tie the ends directly to the peg instead of tying them to each other.


5. Let the dark yarn rest across the rear dowel. Pick up the light yarn that was tied to the dowel in step #3 (keep it tied) and pull a loop through the next slot, then over the peg as you would normally.
6. Pull another loop of light yarn through the following slot and cut it at the peg. Pull out the loose end and tie it to the dowel as before.
7. Pick up the dark yarn, bring it around the dowel (it’s fine if it crosses over the light), and pull a loop through the same slot as the single light strand. There will temporarily be three strands going through this slot. Cut the dark yarn at the peg and tie it to the end of the light yarn (or directly to the peg).
8. Pull the loose dark yarn back through the heddle so that two strands remain in the slot—one dark and one light. Do not tie the end of the dark yarn to the dowel.

Repeat steps 5–8 a total of five more times.
Then repeat steps 1 and 2. Tie the cut end of the light yarn to the peg. At this point, you should have 51 ends.
Wind the warp onto the back beam.
Place the threads in the heddle holes so that only the light yarn goes through the holes, while the dark yarn remains in the slots. The sequence should be three light, one dark, repeating across the warp and ending with three light.
Weaving:
If using all one color, weave over one, under one across the warp.
Prepare the warp as usual with some waste yarn.
Wrap two shuttles—one with light yarn, one with dark.
Lower the heddle and insert the pick-up stick under the dark threads.

This pattern will require you to wrap the edge yarns along the side, so pay careful attention to this as you progress.


Begin Weaving:
Start on the right side with plain weave using the light yarn, as follows:
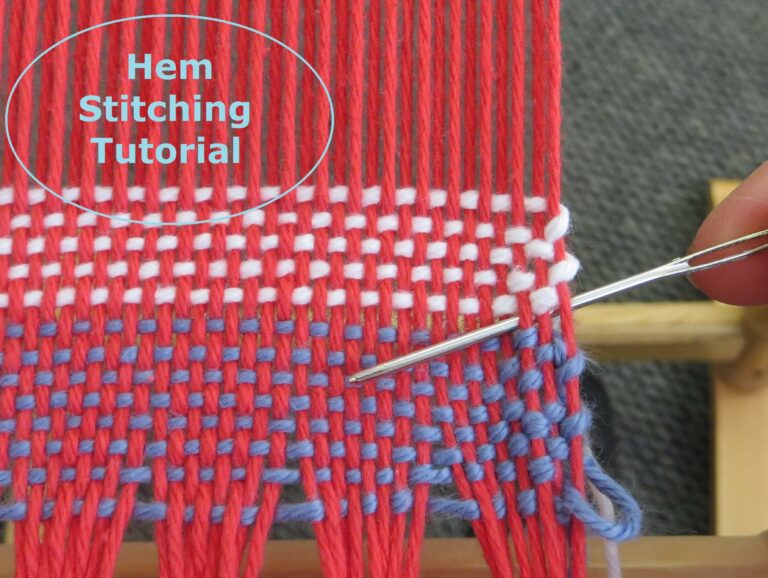
- Light: Up / Pick-up back. (Leave enough yarn for the hem stitch.)
- Light: Down / Pick-up back
- Light: Up / Pick-up back
Pattern Sequence:
Wrap the yarn around the first warp thread each time you perform this step.
Dark: Neutral / Pick-up forward on the edge
Dark: Up / Pick-up forward, laying the yarn flat
Light: Up / Pick-up back


4) Light: Down / Pick-up Back
5) Light: Up/ Forward
6) Light: Down / Back
7) Light: Up / Pick-up Back
Repeat these steps a total of 7 times.
To finish:
Dark: Neutral / Pick-up Forward on edge.
Dark: Up / Pick-up Forward, laying flat
Cut the dark and weave in the end.
Light: Up / Pick-up back. You will need to wrap the end thread on this pass.
Light: Down / Pick-up back
Light: Up / Pick-up back
Cut the yarn, leaving enough for the hem.
Wet finish your Mug Rugs as described in the Welcome Sheet.
This pattern is so versatile. It would make wonderful placemats, dish or bath towels!
Below are some examples of how the pattern looks with simple changes in the color choices. The photos below also show how different the front looks from the back of the weaving.


Have fun with this one! I think it’s sure to be a new favorite!