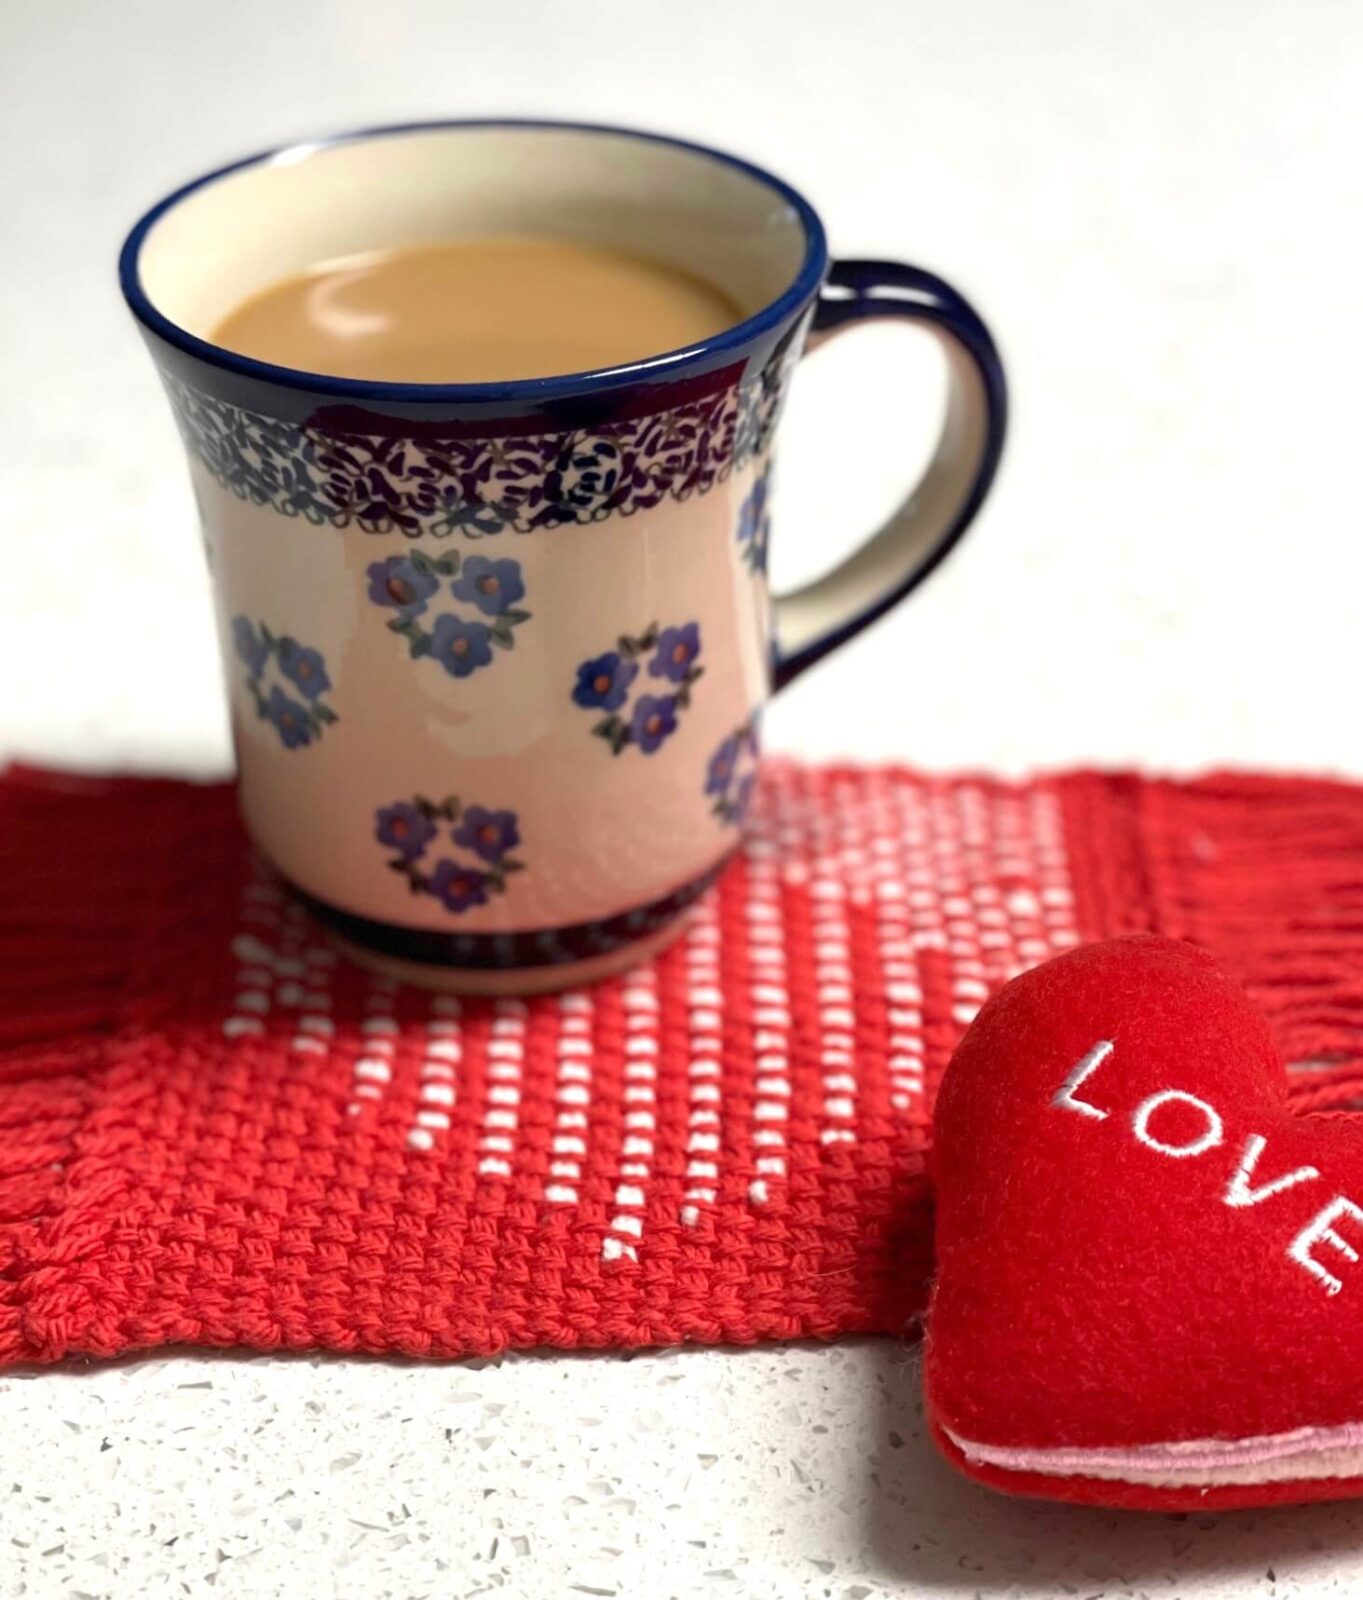
February Mug Rug
This month we’re celebrating Valentine’s Day! While hearts are the classic symbol for the occasion, they can be tricky to weave into a Mug Rug. Instead, we’ll be creating a diamond pattern—after all, diamonds are a girl’s best friend! This design is much easier for beginners to tackle and follow step by step.
To download a PDF file of these instructions visit http://kromskina.com/mug-rug-weave-along/

For more information about this technique, please visit http://kromskina.com/saori-style-on-the-harp-forte/ .
This month’s design uses a weave structure called Clasped Weave. You’ll need two yarns in contrasting colors, with one of them also serving as the warp. In the example, Sugar’n Cream in Red and White was used.
Thanks to the way this pattern works, only the red yarn needs to go onto a shuttle. The white yarn can stay in the ball, as it never actually passes through the shed.
Clasped Weave may look tricky at first glance, but it’s much simpler than it seems—so don’t worry, it’s going to be enjoyable!
The name itself gives a clue to the technique: the two contrasting yarns wrap around each other inside the shed, almost as if they’re embracing one another in a Valentine-style hug.
We used the Kromski Presto for this Mug Rug, but of course it could also have been done on the Harp Forte.
Let’s begin!
Warp 50 red ends on an 8-dent heddle, each 1.5 yards long. After your initial setup with waste yarn, weave four passes with the red yarn, finishing with the shuttle on the right side. Make sure to leave a tail long enough for hem stitching.
Open the shed and pass the red yarn through, but do not close the shed.
Place the tail of the white yarn over the red warp. Bring the red shuttle back through the shed, catching the white yarn as you go. Use the red yarn to gently pull the white into the shed, keeping hold of the tail so that it extends out to the left side.

Gently pull on the live ends of the yarn to center the clasped section within the warp. You should have 12 warp threads to the left of the center and 13 to the right.
Before moving the heddle forward to beat the yarn into place, make sure the edge of the red yarn isn’t pulled too tight or left too loose—this will ensure even tension along the edge.

Lower the heddle and pass the red shuttle through to the left once more. Guide it under the white yarn, then back up, catching the white yarn, and continue through the same shed. Gently pull the white yarn (along with the tail from the beginning) through the shed as you did before.
This time, position the clasp slightly to the right of center, so it sits neatly in the gap between the next pair of upper warp threads. Bring the heddle forward to beat the yarn into place. Finally, pull the very tip of the white tail toward the back so it lies smoothly now that it’s been integrated into the weaving.

This same process will continue across the Mug Rug, with the only change being where you position the joins.
For the next row, place the join to the left of center. Follow that with the next one slightly to the right, and continue alternating in this way.
You may find it helpful to hold a folded piece of paper along the edge to guide the placement of each clasp.
Aim for the joins to follow an angle as close to 45 degrees as possible. If the angle is too steep, the pattern won’t spread wide enough; if it’s too shallow, it won’t extend from top to bottom of the Mug Rug.

Of course, this assumes you want your Mug Rugs to resemble the example shown. If you prefer a more elongated or flattened diamond, feel free to adjust the shape to suit your taste!
Rows 14 and 15 mark the center sides of the diamond.
After completing these rows, begin bringing the clasp joins toward the center, aligning them as closely as possible with the corresponding rows from the bottom of the design.
Once you reach the center, cut the white yarn. Wrap the tail around the final warp thread and tuck it back into the same shed, pulling the end to the back of the weaving.
Weave four rows of red and finish by securing the edges with a hem stitch.
This clasped weave structure is highly versatile—you can create all sorts of patterns, from zigzags to squares or even circles. Introducing multiple colors can transform the design entirely.
The reason hearts are trickier is because of the top-center area. It’s possible to create a heart, but it would require adding a third yarn.
I hope this simple Mug Rug inspires you to experiment and let your creativity run wild, using these techniques to craft even more amazing woven designs!
Visit https://youtu.be/dN9j0WtS_Ko to watch a video tutorial of this months Mug Rug.