More Fun with the Weaver’s Choice Heddle
The Kromski Weaver’s Choice opens up the possibility of creating a whole new texture to the fabric woven on the Harp Forte.
Here is a project that will please the spinner and weaver alike.
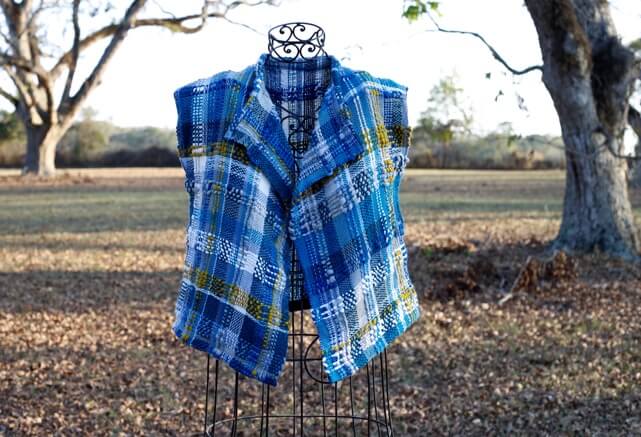
This vest was woven using fingering, worsted and bulky weight yarns right along side some super bulky, funky hand spun Polish Merino.

The vest consists of 3 different woven panels. There is one for the back and one for each front side. Our sample was woven using the full width of the 24″ Harp Forte as the back. The fronts panels were 16″ wide on the loom. Depending on the size needed or the size of the loom, it may be necessary to adjust the width of the panels. For instance, if I needed to make this size, but only have a 16″ Harp Forte, I would need to weave two 12″ wide panes for the back and seam them together on the sewing machine. Likewise I may need to add or subtract width to accommodate the wearer.
To determine the size needed, measure across your back at the hips where the seam would lay and add 2″ to that number. This is the width of the back panel. Each of the two front panels are 2/3 the width of the back panel. One of the 3rd’s of the 2/3’s of the will be used in the shoulder and the other 1/3 will become the collar. Thus the collar will be the same width as the back. This “rule of thirds” will assure that the collar will fit just right when sewn in place.
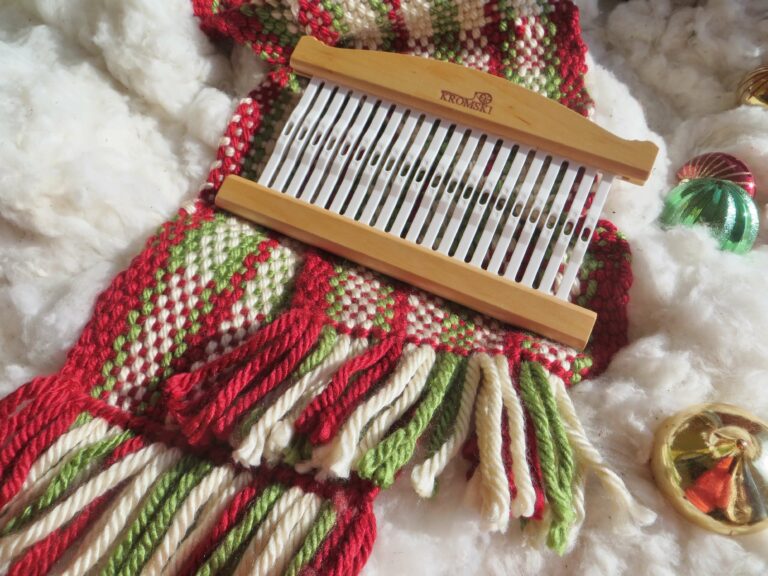
Please refer to the Weaver’s Choice user instructions to assemble the heddle.
Because I am using funky, irregular hand spun yarn in the sample vest, a random order to the heddle size selection seemed appropriate. This could have easily been done in an organized stripe or plaid. Naturally, its the Weaver’s Choice!

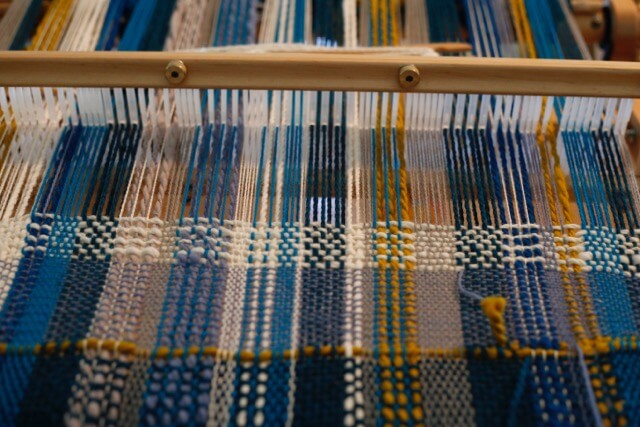
Thread each heddle with a yarn that is an appropriate to the size. The super chunky yarn used here would not fit though the 5 dent heddle so a space was made to create an even wider slot. In order to function as a weave, a hole was needed next to the slot. As you can see looking at the yellow yarn in the photo below, a 10 dent heddle piece was placed between the space slots. When warping it may be necessary to use an uneven number of threads to achieve the correct weave. Keep this in mind and simply tie off the single threads at the warping peg or far end of the warping board if you are working with that.

Begin and end each of the 3 panels by weaving a couple inches of waste yarn. You will sew along this separation with a sewing machine once the panel is taken off the loom to secure the weaving and prevent unraveling. The length of the vest is up to the weaver, however it is important to weave several inches extra to accommodate the hem and shoulder seams. You will also need to weave an extra 4″ on the same warp as the back panel. This will be used on the collar. Separate this from the main panel with an inch or so of waste yarn.
Once each panel is complete, remove from the loom and, using a sewing machine, sew two seams along the top and bottom to secure. Sewing two seams directly next to each other will give added protection against unraveling. Trim the excess away.
As mentioned above, this vest is made using Polish Merino. It will be wet finished at the end, after assembly. If cotton is used, I recommend wet finishing before sewing together.
To assemble the vest attach the front panels, one on either side of the back panel, salvage edges together. Sew from the bottom up to the armhole. Give yourself ample arm room, approximately 12″ . Even though these are the salvage edges of the weaving and therefore will not be prone to unraveling, the seams will lay better if you open them up and sew them down flat. Use a thread similar to the colors of the yarn so that these two seams will not show on the outside.
Sew the shoulders at an slight angle 1/3 of the width of the back panel (1/2 the front piece). The neck should be slightly higher than the top of the shoulder. This will help it to fit nicely when worn. Open the seams and sew flat as done on the sides.

Next attach the collar to the neckline by sewing it 1st, lengthwise, along the inside of the garment beginning at the outer edge of the front panel, across the neckline and ending on the outer edge of the other front panel. Then fold it over the raw edge of the vest, fold under to create a hem and sew in place, similarly to binding a quilt. Pinning at this step is quite helpful. If you have followed the “rule of thirds” the collar should fit perfectly across the top of the vest.

Because the bulky yarn is somewhat difficult to work with in a hemline, I have used Bias Tape to give my vest a nice flat hem along the bottom. As a variation, I could have done a hem stitch while still on the loom and made a fun fringed look.

This vest will wear well with jeans or as a topper for a stylish evening out. The design and combinations of yarns and textures are as endless as the weavers creativity, thanks to the new Kromski Weaver’s Choice Heddle!