Hem Stitch For Weaving
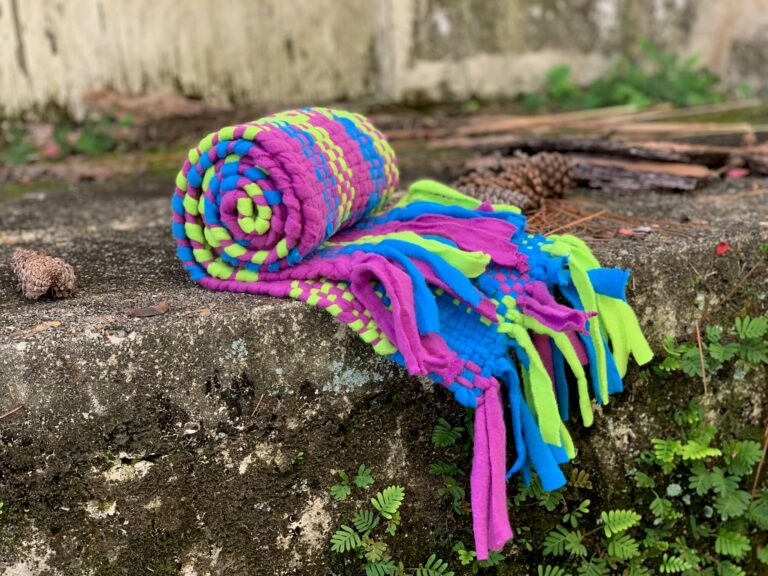
There are many ways to finish off the ends of your weaving projects. The Hem Stitch is an all time favorite among weavers. Bear in mind however, that this method will produce a fringed edge.
Follow this simple tutorial to learn how.
First, warp the project onto a Kromski Harp Forte. Follow this tutorial if you are not familiar with the procedure.
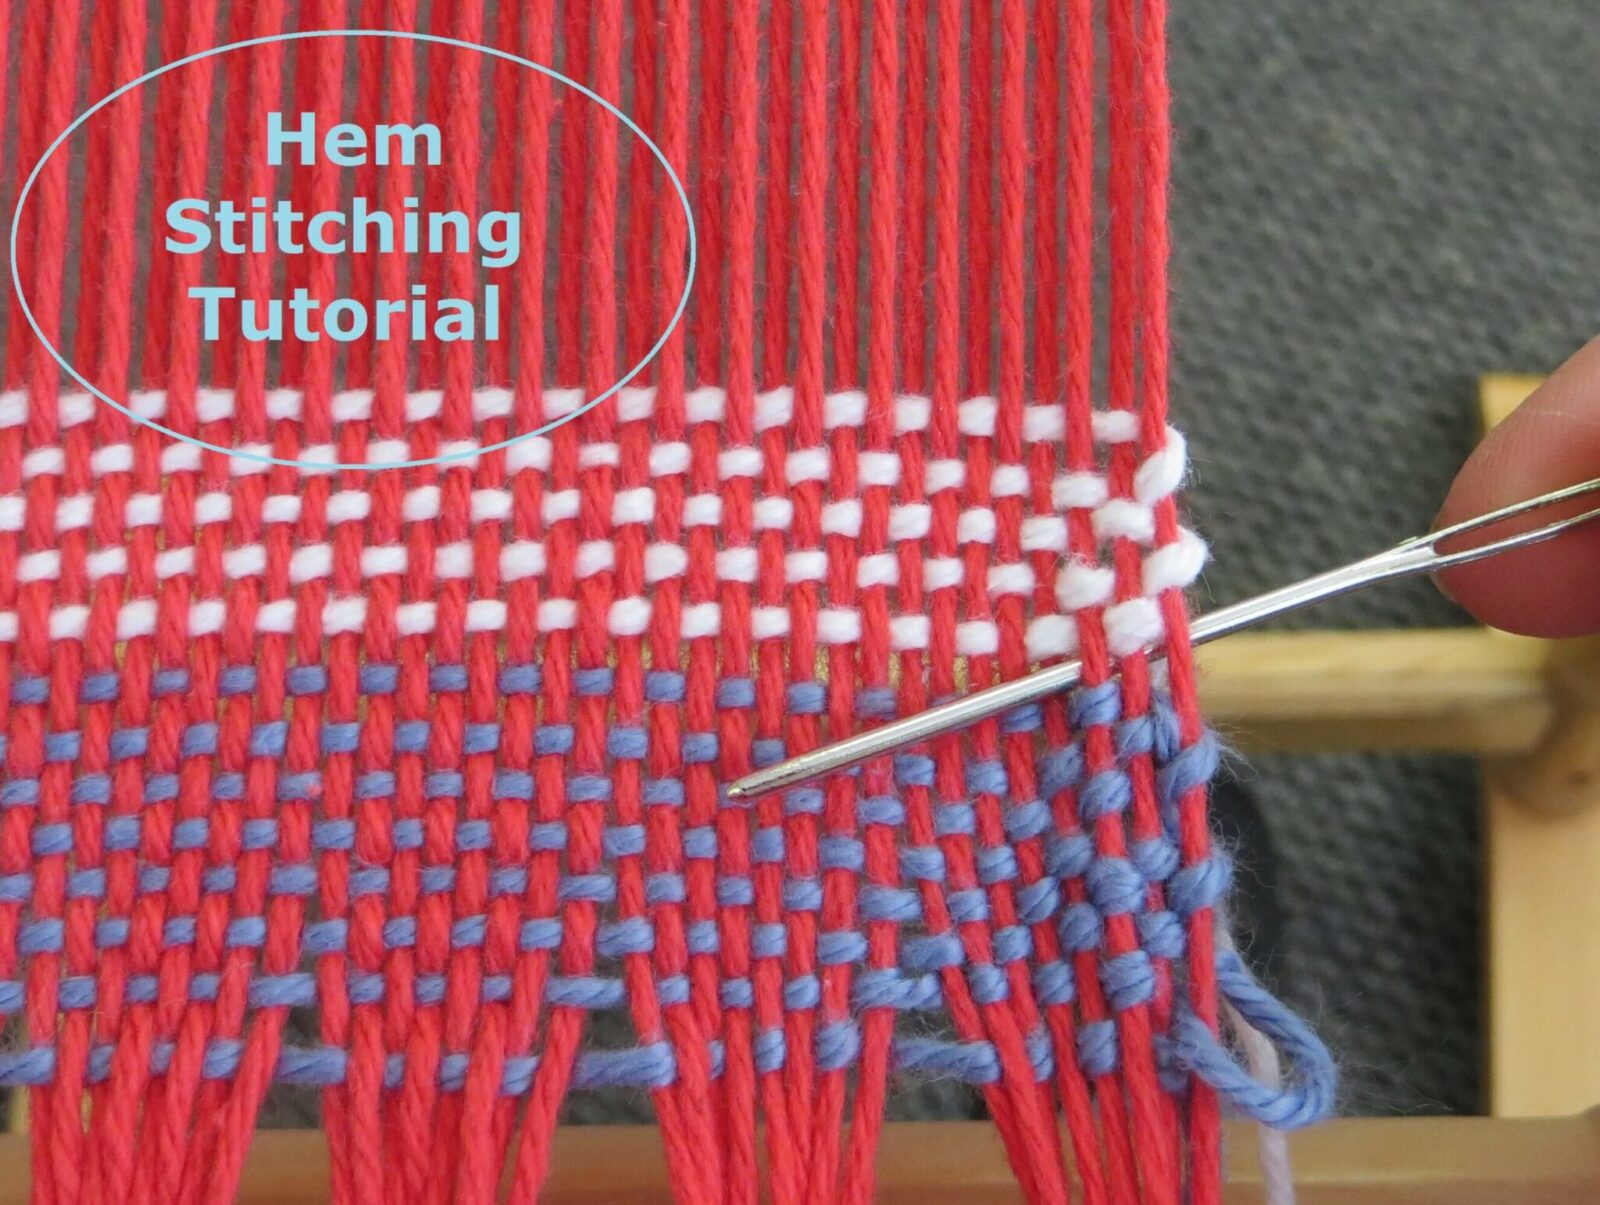
Weave a header section using scrap yarn or folded paper (shown in blue yarn here).

Once you are ready to weave, draw the weft through the shed, leaving a tail that is 3 times the width of the warp. This tail will become the hem. Weave according to the design pattern for an inch or two.

Place the heddle into the neutral position. Using a tapestry needle, bring the tail under the weaving and up through the warp 3 or 4 strands in from the edge, at the bottom of the weaving, just above the header. Depending on the size of your yarn, this number could be higher. The thinner the yarn, the more threads you may want in your fringe.
Next, wrap it around the edge and back under the weaving, drawing it up between the same warp threads, 2 rows above where the yarn exited in the previous step.

Pull snug.

Now insert the needle back through the same space as in the 1st step, directly below where the yarn is coming out, and again over 3 strands, and back out the top of the weaving.

Again pull snug. Repeat this across the width of the warp.

Note as an alternative the yarn can be drawn up through first 2 rows and then just one row on the next pass. This creates a slightly different look, with the same secure hem. It is up to the choice of the designer how the finished project should look.

Repeat the same hem on the other end of the weaving. It is now safe to remove from the loom and enjoy!
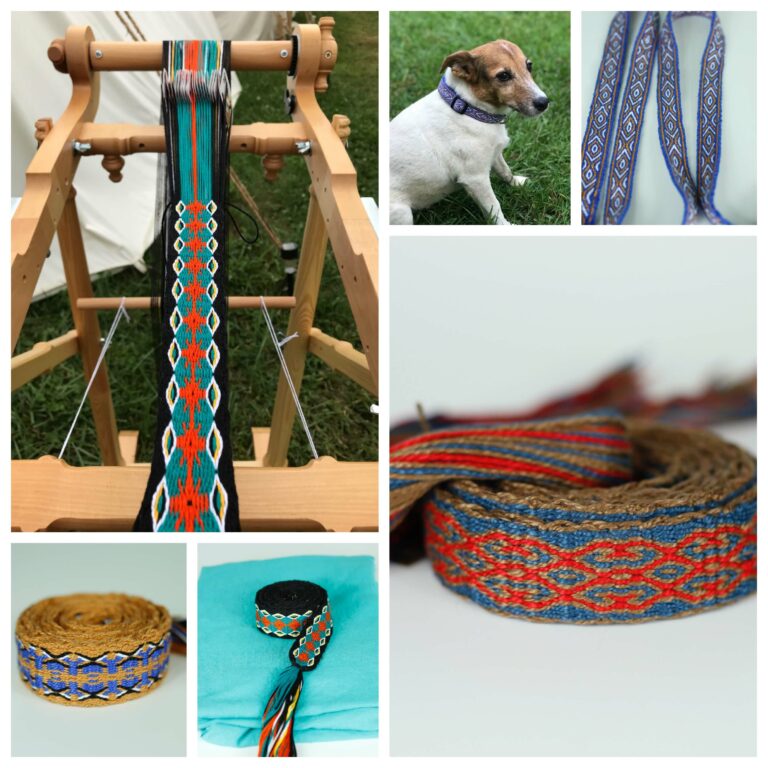
Like our Key Fob? Here are the instructions to make your own.