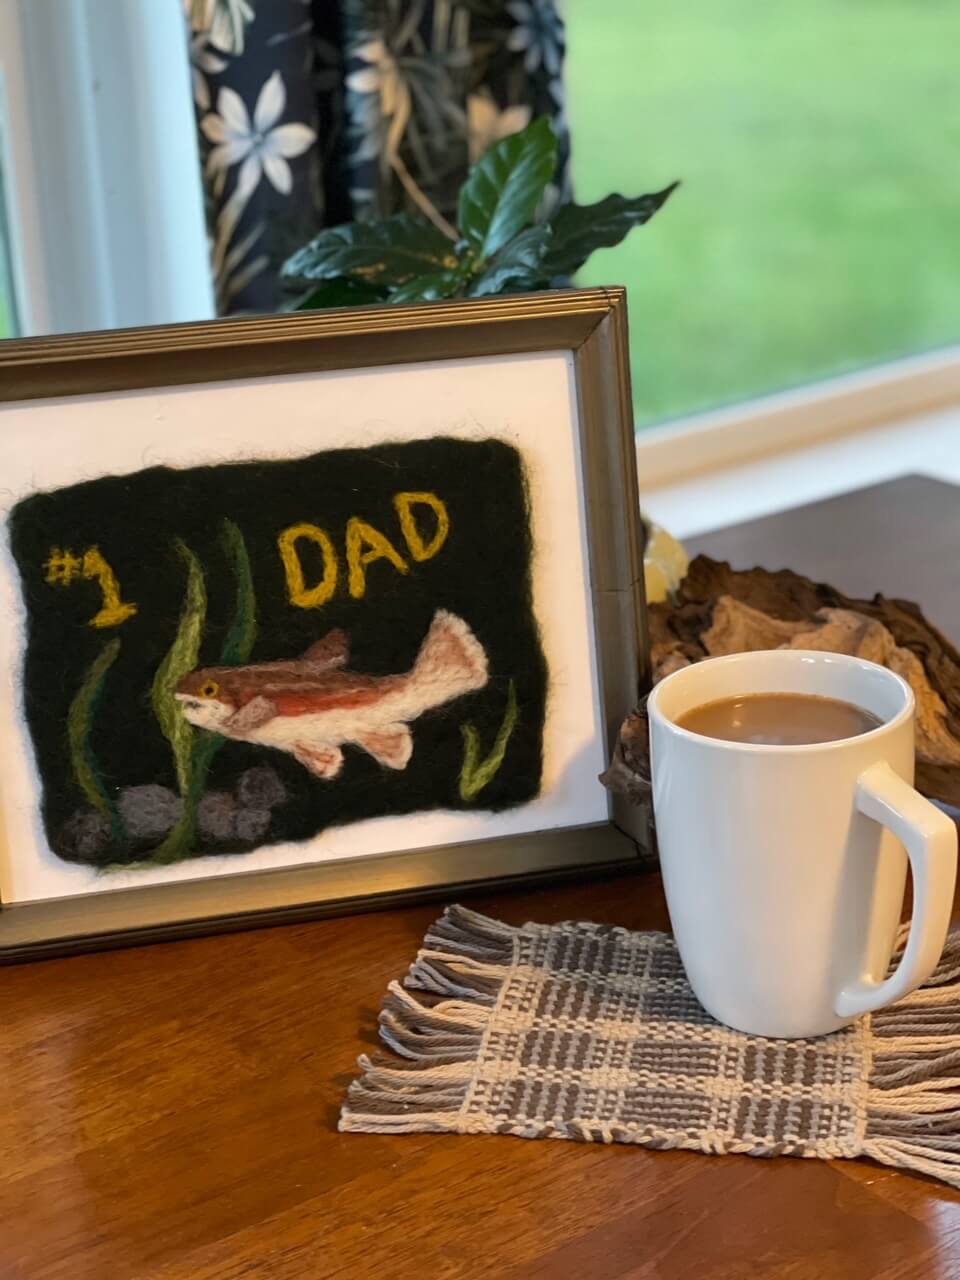
June is the month we celebrate Father’s Day! The weave structure this month is a based on a design that Dad will love called Log Cabin.
Our sample uses brown, tan and grey worsted weight cotton and and 8 dent heddle.
To make 4 rugs, you will need 1.5 yards.
Of course, like all our monthly mug rugs, a change up in color will offer you a whole new look! This one has lots of potential for a variety of decor.
Usually we would simply warp the loom using the direct warping method like so:
Begin by warping 4 strands of Tan using the direct warping method.
Continue as follows: 2 represents one loop of yarn.
2 Brown
2 Grey
2 Brown
2 Grey
4 Tan
Repeat these five colors three more times for a total of four times.
You should have a total of 52 ends.
This completes the warp. But now let’s learn something new!


The row that lays horizontal can be explained like this:
The color of each warp thread is displayed across the top.
For a rigid heddle loom there are only 2 shafts – up or down.
Below the color row, the numbers 1 and 2 indicate which “shaft” those warp treads go into.
Number 1, (shaft #1) will go into the holes on your heddle.
Number 2 (shaft #2) will go through the slots.
When using the warping board (there is one conveniently located on the back of the Harp Forte), each square represents one trip around the board.
When using the direct warping method, each loop ( 2 strands) will consist of a block 1 and a block 2.
Something else to note about reading a weaving draft is that they read from right to left, not left to right as we are used to reading.
So, when following our draft here, when warping this pattern you will begin on the right side of the horizontal row and warp 2 loops, (4 strands) of tan yarn. Repeat this one time as indicated above the color blocks.
Next warp one loop (2 strands) of grey, followed by one loop (2 strands) of brown. Once again warp one loop (2 strands) of grey, followed by one loop (2 strands) of brown.
Then warp 2 loops (4 stands) of tan.
Repeat this section a total of 4 times as indicated above the row.
Refer back to this graph when you are ready to place them into the corresponding holes and slots.


Now let’s move on to the block made up of four squares in the corner of our draft.
This block illustrates the tie-up. For the rigid heddle, we have just the 2 shafts.
We do not have to physically tie-up any shafts. The holes and slots will essentially perform this task for us.
This is more just an explanation of the concept. Again, more useful with the double heddle.
But still important to know.

At any given point in order to weave we must have one group of threads either up or down. When you lift the heddle up, the holes are raised and shaft #1 is engaged. When you lower the heddle the holes pull the threads to the bottom, thereby making the threads in the slots “rise up” and shaft #2 is engaged.
Sometimes the squares will be filled black as opposed to the numbers as we have here. Sometimes it is simply omitted from the rigid heddle draft altogether.
By following the draft above, you should have 52 warp threads in the assigned color pattern, each in the proper hole or slot.
Now the loom is warped and we are ready to weave!
Throughout this pattern we kept the weft colors attached to the weaving. We carried them up the side, wrapping them with the other weft yarns to prevent creating loops along the edge.
You may wish to cut the tan yarn between each group, but it is quite easy to carry it up the side as well and does not create too much bulk on the finished mug rug. The grey and brown will alternate so it is best not to cut them within each section.

Now it’s time to look at the vertical rows.
These rows are the weft sequence.
Read from the top and work down.
Begin with the tan yarn.
1st (red arrow) -Heddle up and pass the yarn through the shed.
2nd (yellow arrow) – Heddle down, pass the tan through the shed.
Repeat this 2 times (green arrow) for a total of four passes of the tan yarn.
Don’t forget to leave a tail and do a hem stitch at the beginning.
Switch to the grey yarn as shown by the next block.
Heddle up, as indicated by the column, and pass the yarn through the shed.
Next look at the draft to see that you will put the heddle in the down position
and weave a row of brown.
Repeat this section a total of 4 times as shown to the right of the draft.
Continue to weave, carrying the yarn along the edge and wapping with the weft that is engaged as you work.
Remember to look at the color of the block, the column it is in, and the number of times the group will be repeated.
Finish with another hem stitch.
*Note that you may encounter a pattern that uses the condensed style on the weft like we spoke of earlier on the warp. This is particularly common on longer projects with multiple repeats.
If you’ve ever seen something that you want to weave, but struggled to understand the pattern, I hope this will help encourage you to give it a try!
Don’t be afraid to play around with the weft on this one.
Simple changes can make a big difference in the overall appearance!
Have FUN!
For the PDF version and to see what others have done, visit Kromski Fun on FaceBook.


