Weaving to Sew
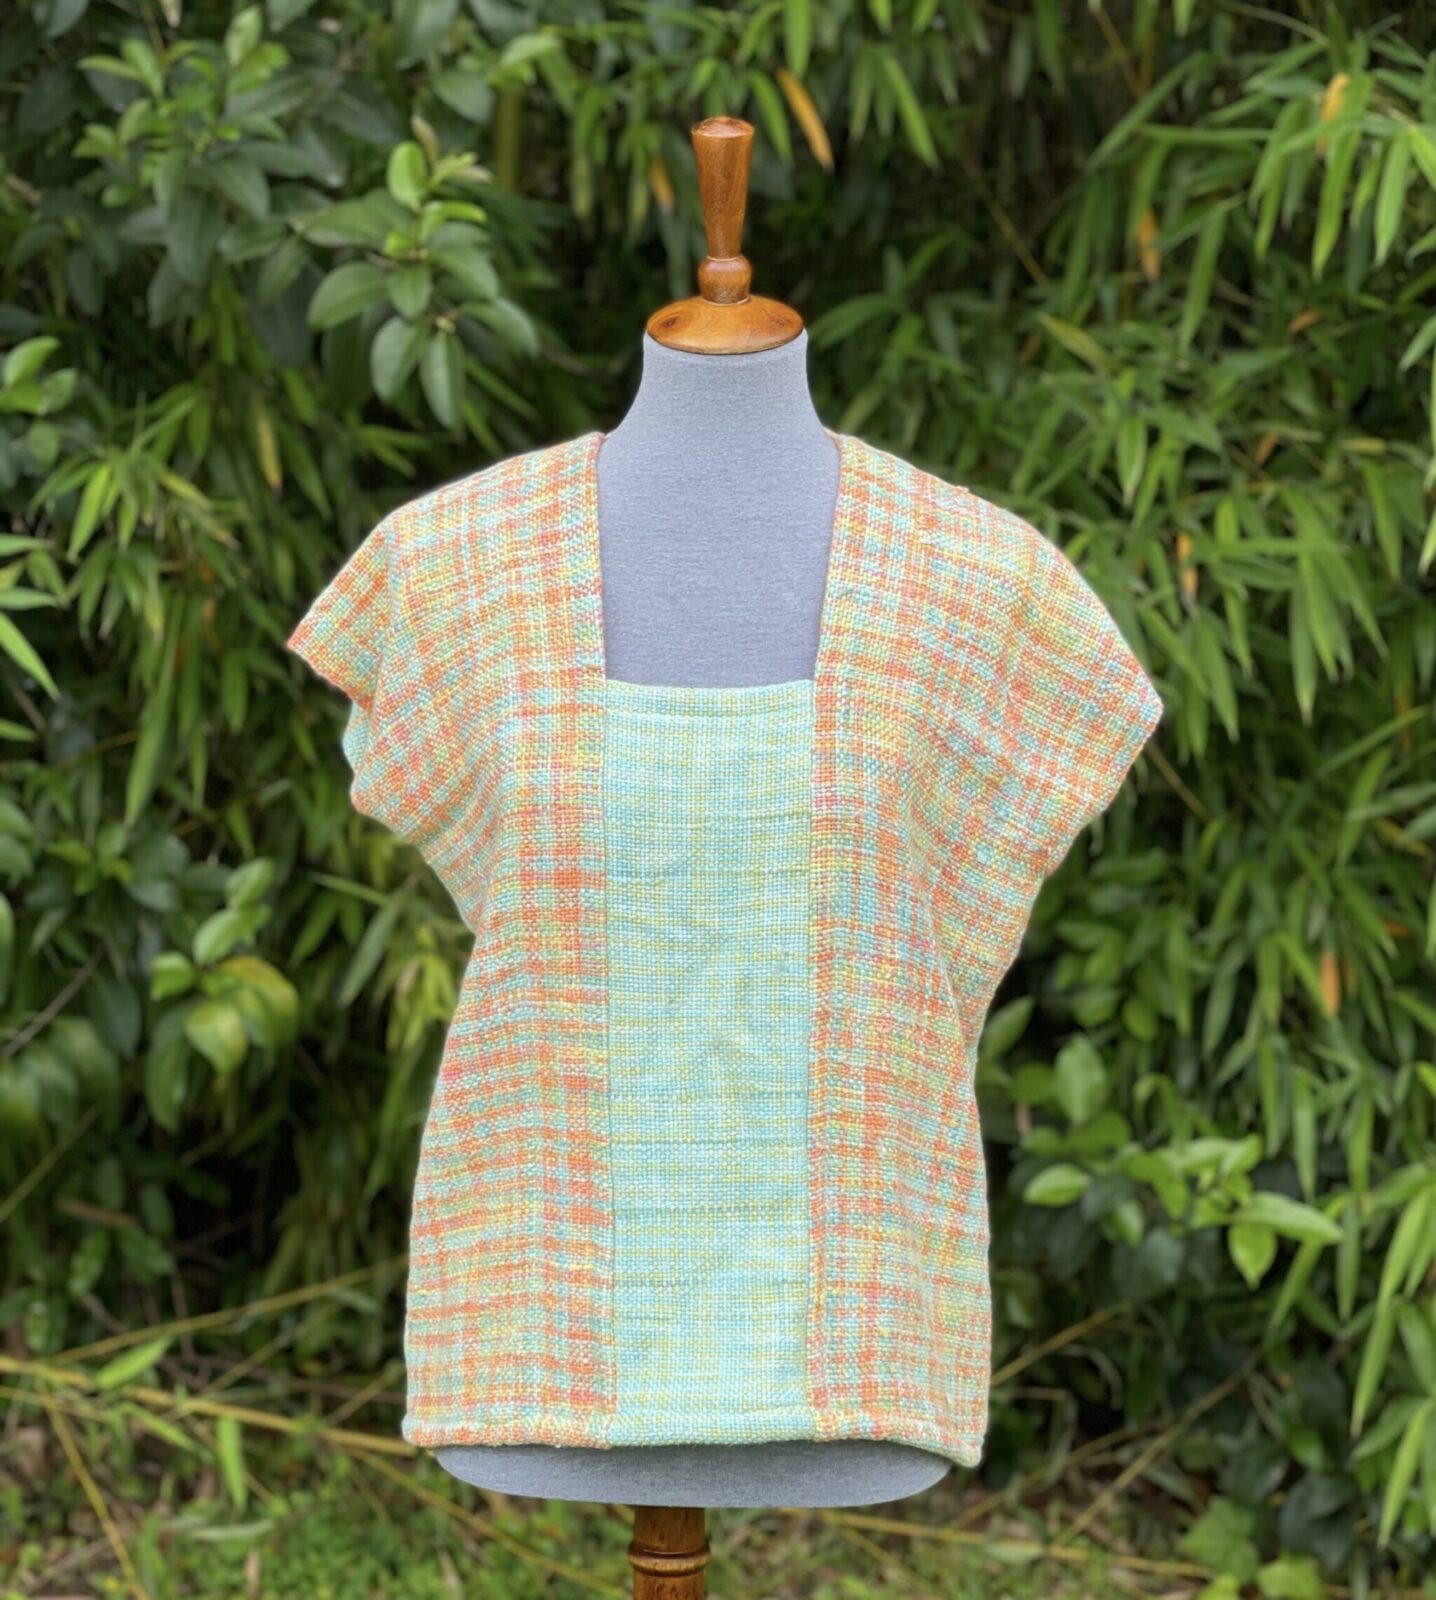
Is sewing with your weaving feeling intimidating? It doesn’t have to be! Try this simple formula to create a comfortable springtime top that’s perfect for almost any occasion.
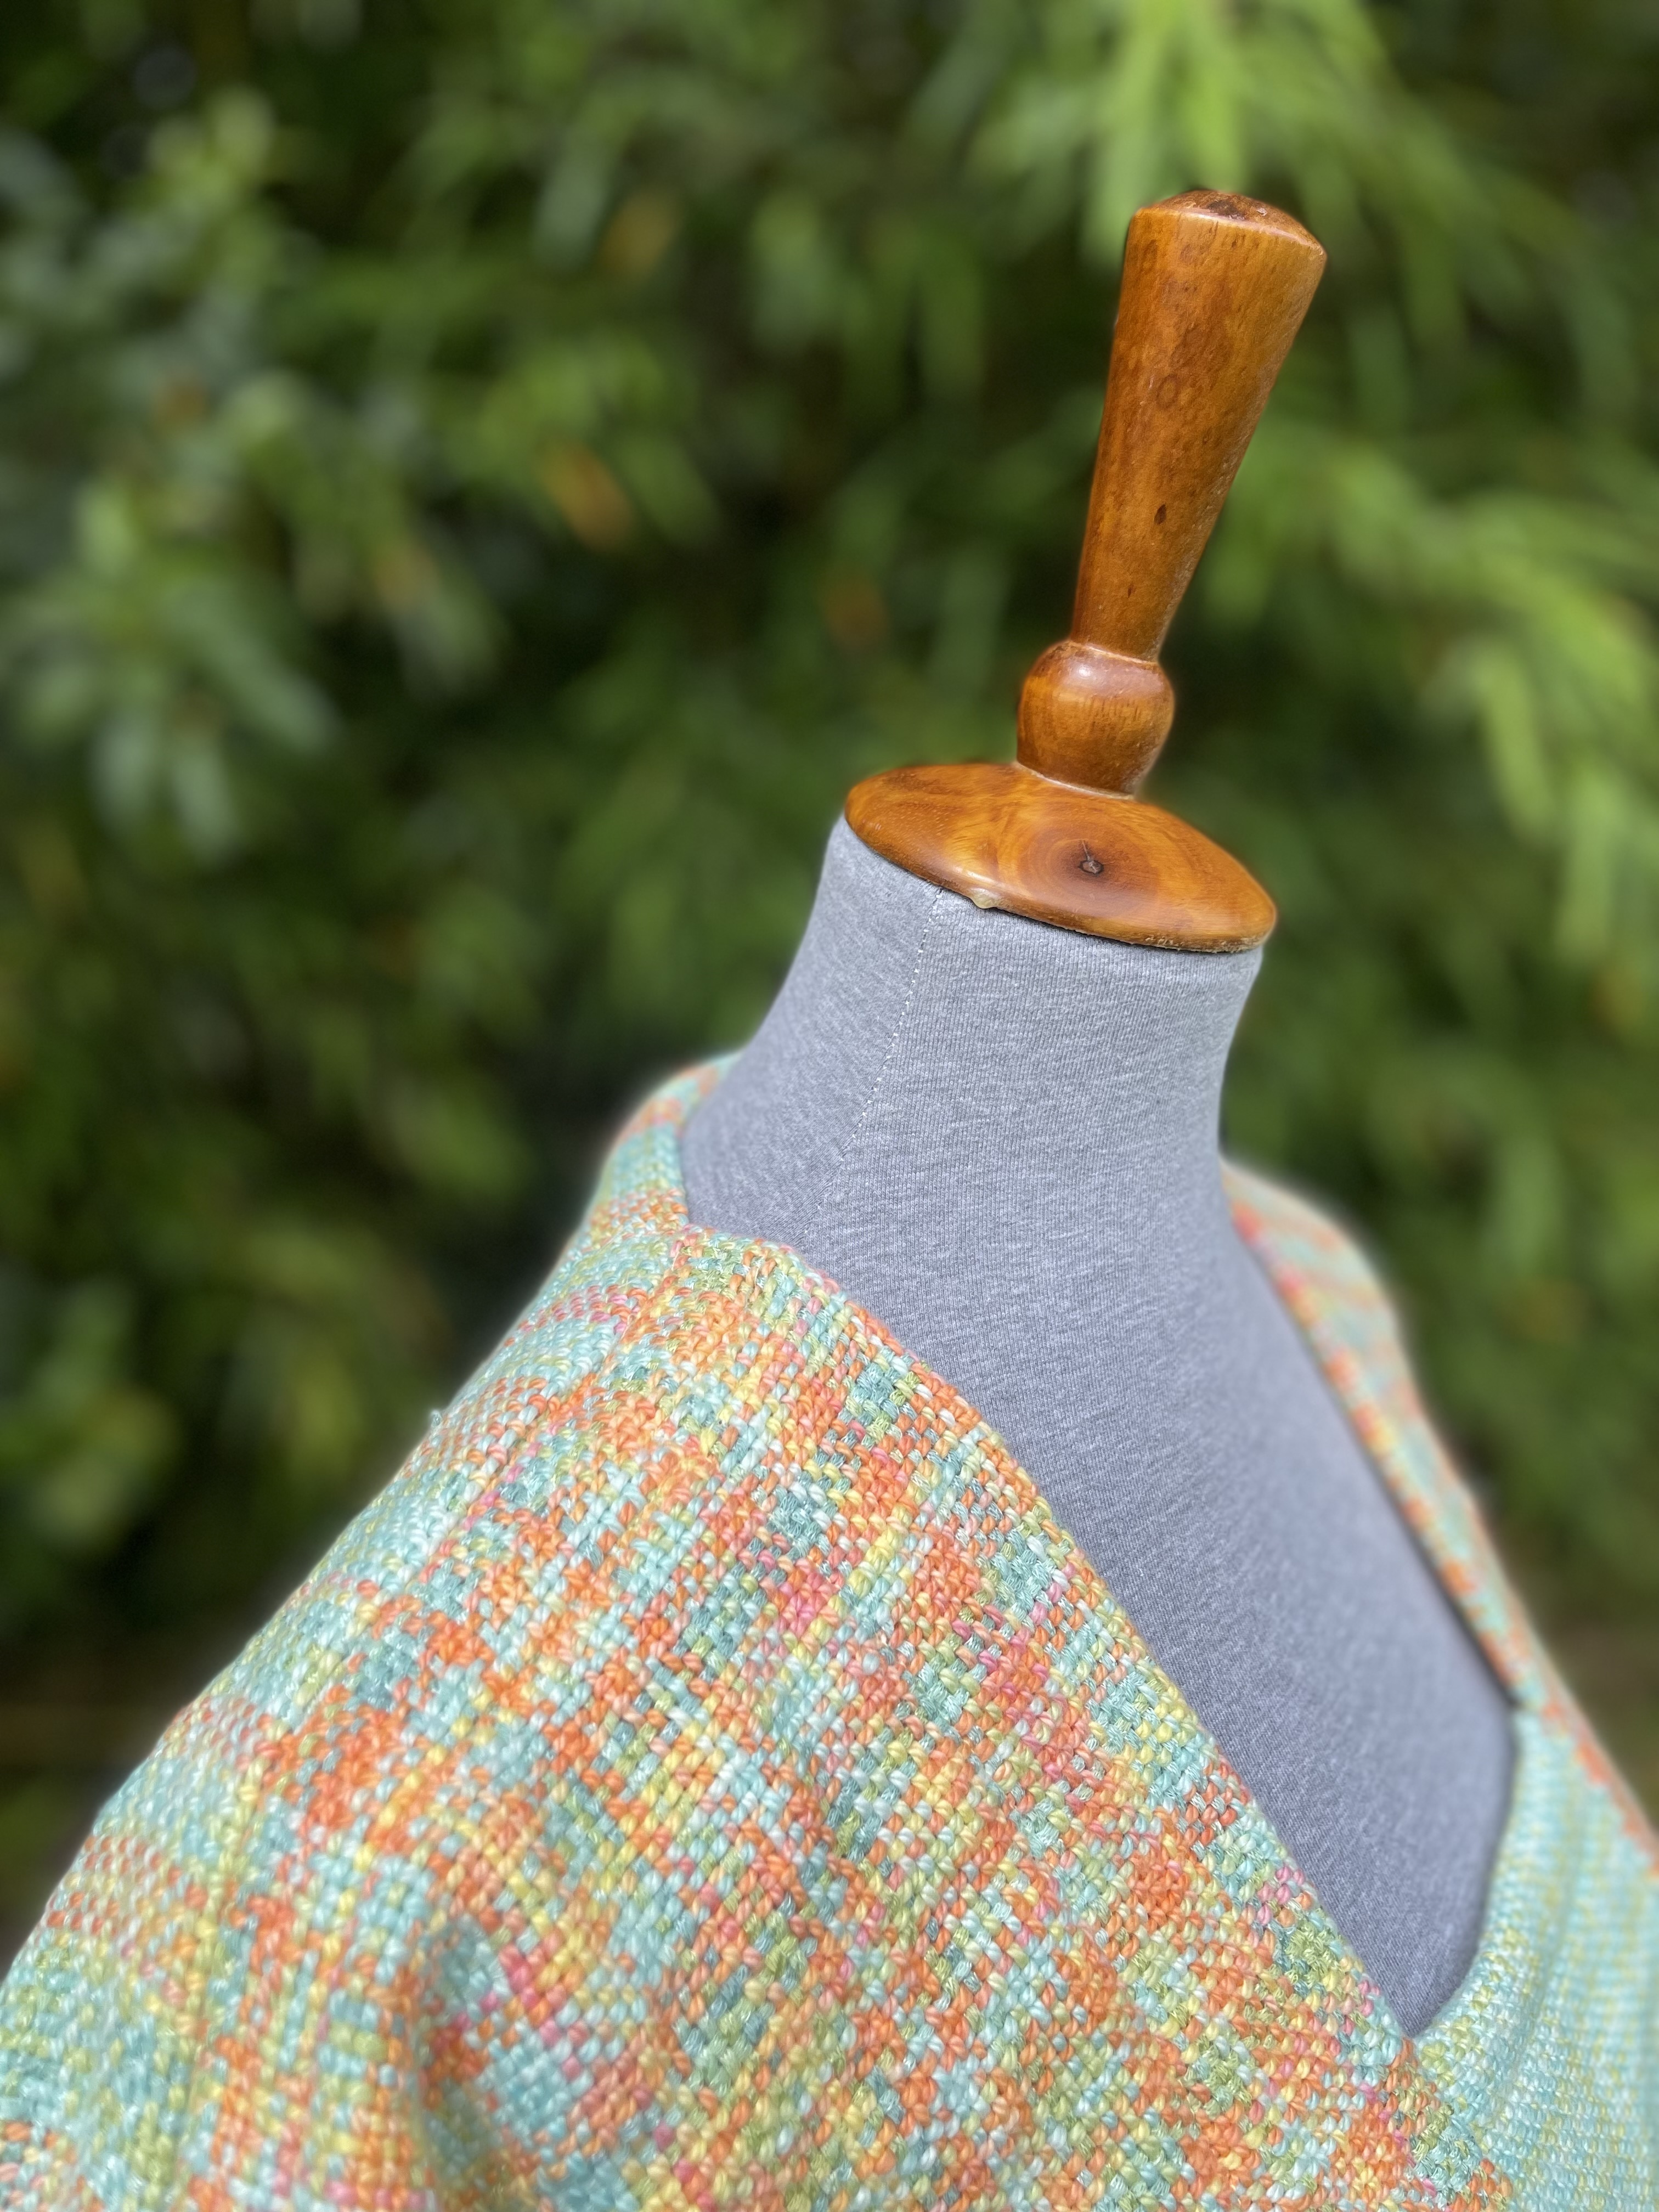
My fabric was woven on a 16″ Kromski Harp Forte, but I could also have made a similar top using narrower panels from an 8″ Harp loom or the Presto Loom. I used four different yarns, and as you can see in some of the photos, it left me with quite a few yarn ends. However, since they were woven in as I worked, they won’t come loose in the wash.
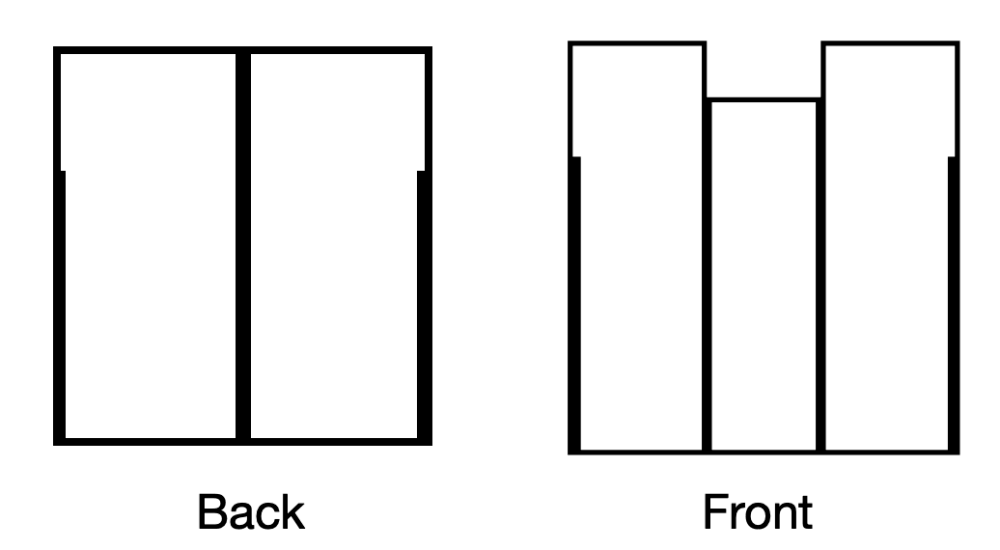
The shirt is made from panels, each woven according to the measurements you’ll take as described below. The selvage edges of the panels make seaming quick and easy, providing neat, pre-finished edges.
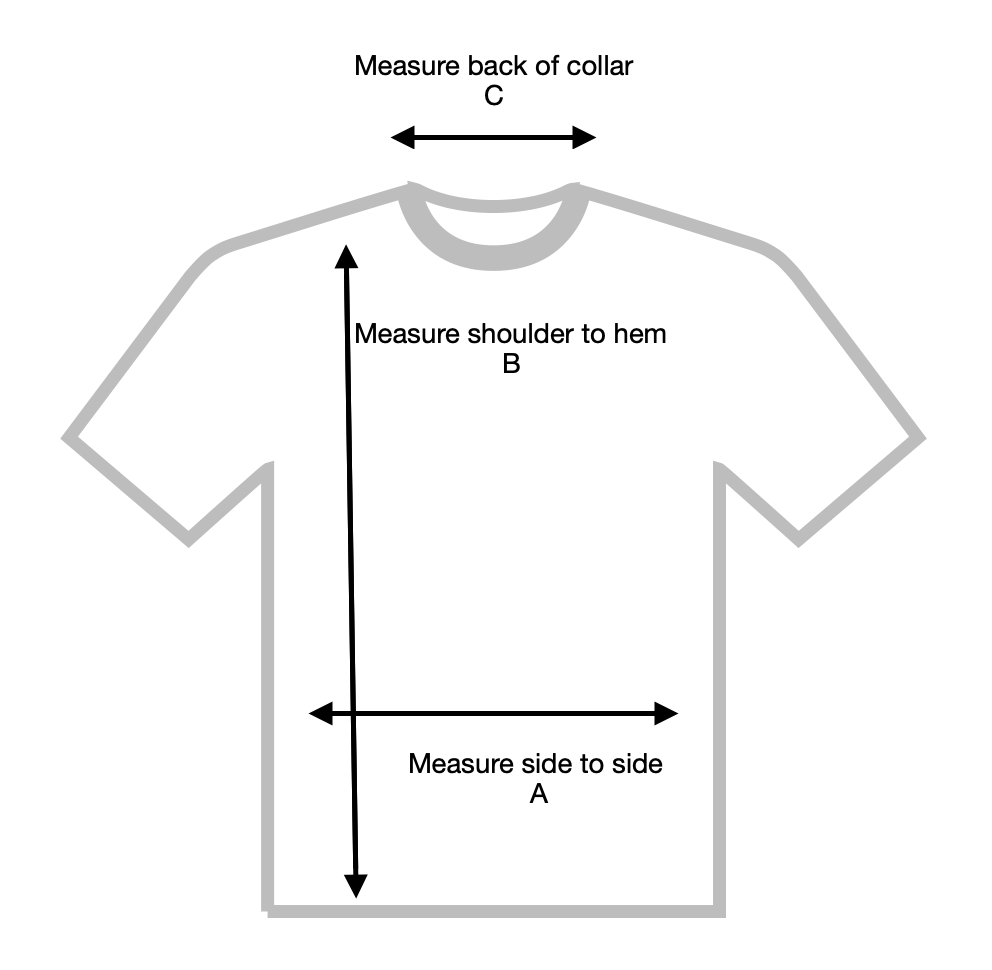
Start by taking out your favorite t-shirt—the one that fits perfectly. Lay it flat and measure across from side to side (A) and from shoulder to hem (B). Then measure across the back of the collar (C).
The shirt is constructed of three panels in the front. Two sides and one center.
Let’s start with the two side panels.
Subtract “C” from “A”. Now divide the result by 2.
For instance: 22 – 8 = 14. Then 14 divided by 2 = 7.
This provides the measurements for the two sides of the front. Next, we add seam allowances. I chose a ½″ allowance for each seam, so I added a total of 1″ to the width of each panel.
The length of the panel is based on measurement “B.” Add 3″ for the hem and 2″ for the shoulder seam to the length of “B.”
Next multiply that by 2 so that you can weave both panels on one warp.
For instance: 24″ + 3″ + 2″ = 29″ for each panel. The woven length in the loom will be 58″.
The center panel is measured as “C” plus a 1″ seam allowance. Its length will be slightly shorter than the side panels, but I recommend weaving it to the same length as the side panels and adjusting the hem afterward. This panel does not need to be doubled, as it is a single piece.
The back of the shirt is made of 2 panels. “A” divided by 2, plus seam allowance. Use the same method to figure the length of your warp as was done for the back sides.
Now that you have the basic measurements, remember to account for loom waste, take-up, and shrinkage, just as you would with any weaving project. If you’re using a yarn you haven’t worked with before, I highly recommend making a test swatch to determine the shrinkage. However, if the panels end up slightly wider than expected, don’t worry—you can simply open the seams and sew them down so they lie flat within the shirt.
Once you have finished weaving you must wet finished the fabric, Use a washer and dryer for cotton and for wool, a lukewarm soak and dry flat.
Once dry, cut the longer warps in half to form the panels. Sew a zig zag stitch along these to secure.
Before sewing it is a good idea to clip or pin the seams together and test the size and layout. Hand woven fabric is less agreeable to seam ripping when a mistake has been made.
When you are satisfied that all is as it should be, it’s time to move to the sewing machine.
Begin by sewing the the back panels together along the selvage edge.
Lay the back out on a table, right side up. Next place the front side pieces on top of the back, right sides down. Align the shoulder seams so that the outside edges line up with the outer edges of the back. The zigzag edge will not hold up to repeated washings. Sew the shoulder seams about 2″ down from the top edge. This will allow the raw edges to be folded under like a hem and be stitched down, thus protecting the edge of the fabric.
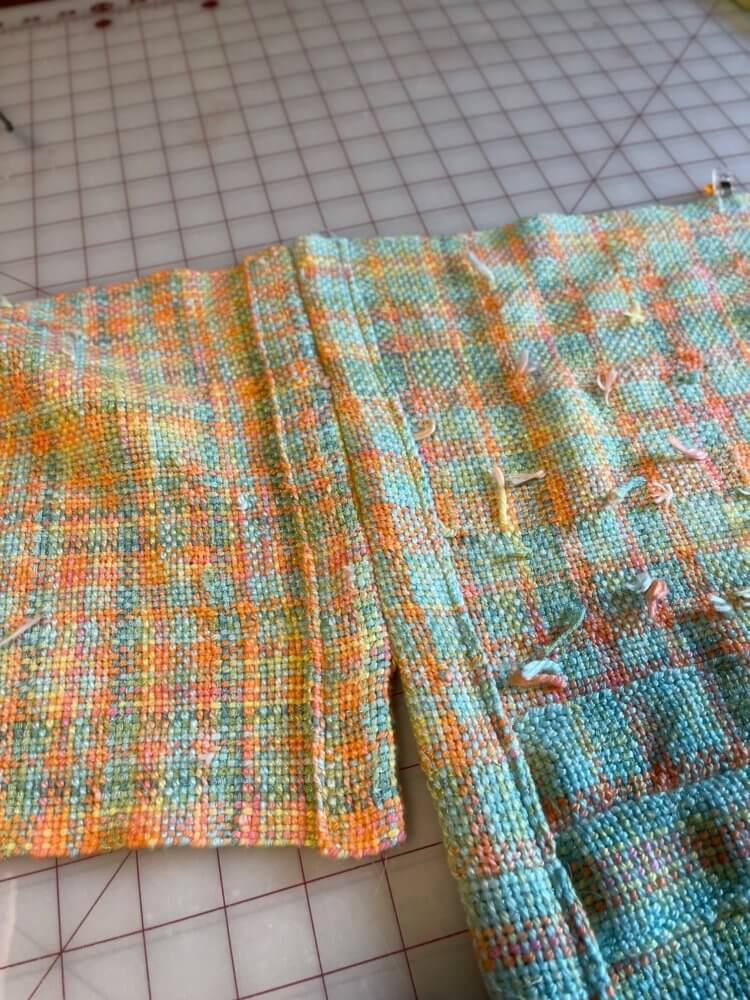
When both panels are in place, there should be a gap the size of measurement C (the neck). As you can see in the photo here, My panel was a bit wider, but I stopped sewing in time to leave the correct sized gap. This was easily solved by folding the extra fabric over and stitching it down in a later step.
At this point you’ll want to try on the bodice and pin the center panel in place before sewing it.
You’ll also need to mark where the side seams should end under the arms. Sew a backstitch at the top of each side seam to reinforce the armhole and ensure it’s strong.
All that is left do do now is to hem your new shirt! And decide where to wear it first!