


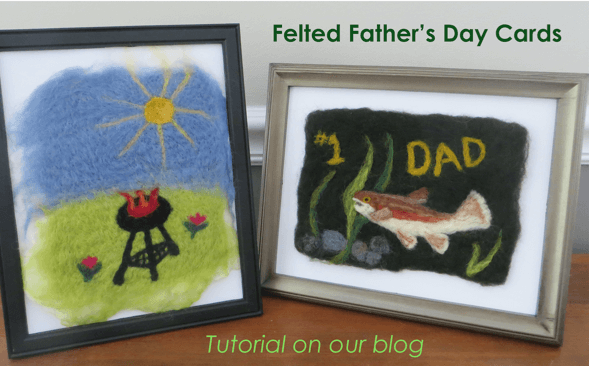
With Father’s Day fast approaching, it’s time to look for ideas that are sure to please even the Dad who has everything!
I’ve come up with a fun little felting project that can be customized with your Father’s favorite things.
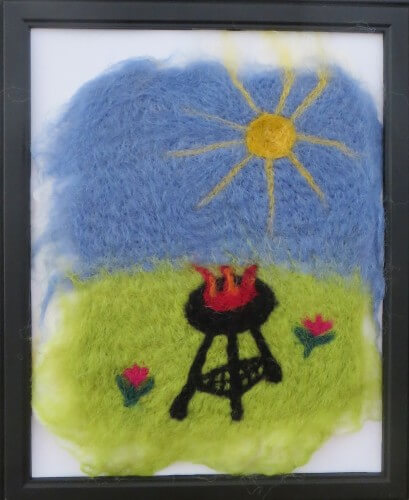
Once finished, he can display this Felted Father’s Day Card on his desk at work or at home as a daily reminder of your love.
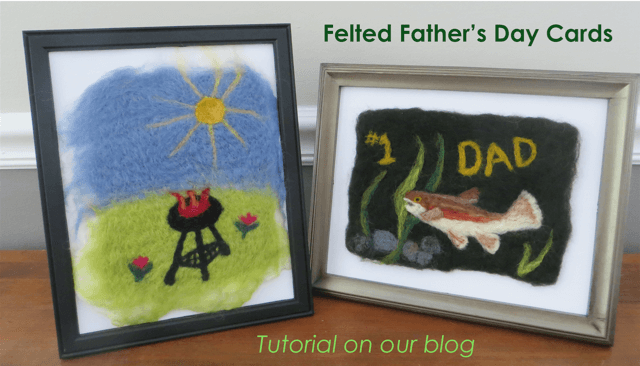
If you’ve never felted before, don’t worry, this is a simple project that even a beginner can do.
You will need some Kromski Polish Merino in colors appropriate for you design choice. Kromski now offers a convenient Felting Pack in a variety of color combinations. Each pack includes 1 full ounce of 4 different colors. See your favorite Dealer for more information!
In addition to the Wool, you will need:
Felting Needles.
Felting Foam at least as big as the finished “card”.
Bubble Wrap
A Sink, Soap and Hot Water for finishing.
1st a bit of information about felting. Why does wool felt? Wool fibers have tiny scales, invisible to the eye. A felting needle has tiny barbs on it that lift the edges of the scales, allowing them to snap back into place on a nearby fiber. The more repetition, the more entangled the fibers become. When the wool is wet felted. the fiber is agitated and with the help of soap suds, the scales are lifted and mix with each other to create the felted fabric. Switching from hot water to cold further opens the scales (we call this shocking the wool) and helps to speed the process.
Now, are you ready to felt?
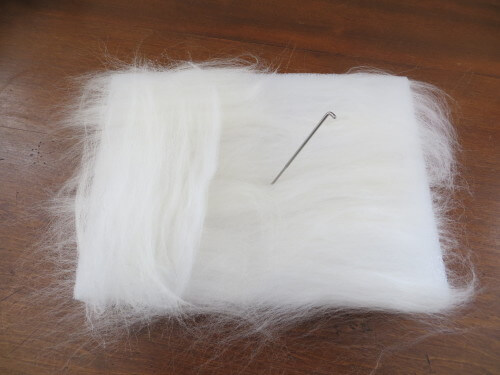
Begin by creating a background for your design. This wool will not be part of the finished image, but it may show through a bit, so choose a color that will work well with your design choice. Layer thin sheets of wool in a hash tag fashion (different directions) onto a felting foam. In this example, I’m using a 6″x 8″ foam board.
Using a #38 triangular felting needle, tack it down just enough so that it will hold together. Peel it off the foam board to check for even coverage by holding it up to the light. Add more fiber if needed to some areas. Be sure to place the additional wool in another direction (like a #hashtag).
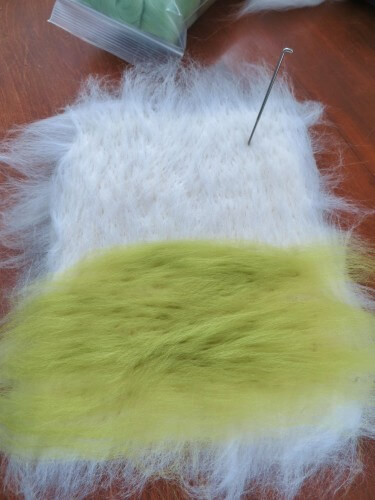
Next, begin to place the design colors. In the photo above, I am adding grass to my image. Again, tack it down with the felting needle.
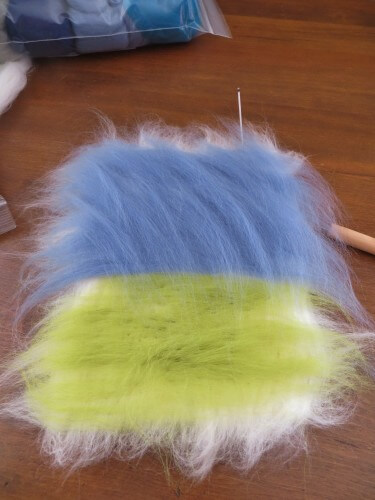
Next, I add my sky.
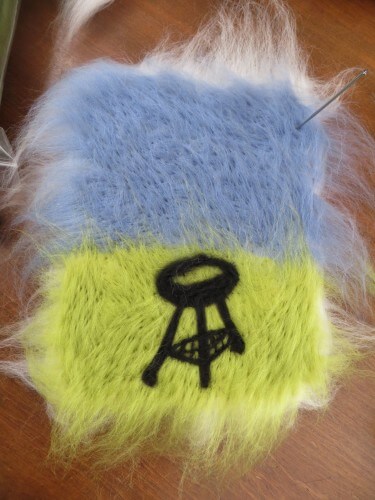
Once I have added enough wool to cover the base fibe, and stabbed my project enough with the felting needle to create a more defined fabric, I can begin adding the detailed design elements. Notice that I have left the wool hanging off the edges. This is a matter of choice. I had planned to trim the finished picture to a clean rectangle on this one. But once completed, I decided that I liked the raw edges. On the fish design, I folded the whispy ends over and felted them along the edge.
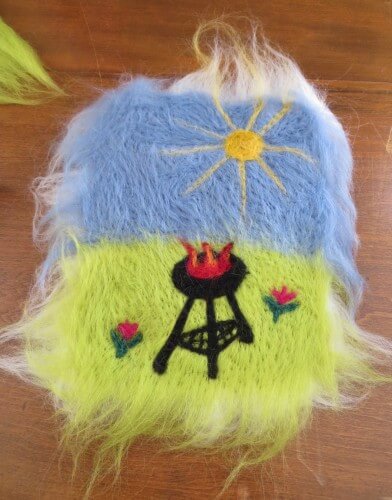
Continue to “paint” your picture until you are happy with the way it looks. Needle all over the project to ensure that everything will stay in place during the finishing process. While you could switch to a finer needle and continue to work on the wool until it is tight and smooth, I’ve decided to use a faster method.
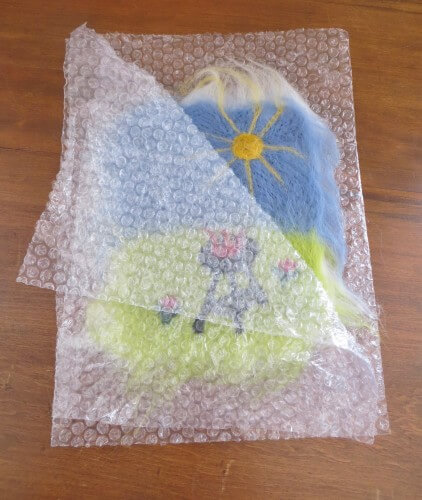
In order to speed up the finishing, we will use a wet felting technique.
Sandwich the picture between 2 sheets of bubble wrap. Submerge it in soapy water until the fiber is saturated. Drain the water out of the basin and rub, gently at 1st, through the bubble wrap, on the back side of the image. Work up a nice lather by flipping it over and rubbing on the front side in the same fashion. Continue to rub both sides until the fibers begin to contract and the wool becomes more fabric like.
Now the soap needs to be rinsed out. At this stage, you can be fairly rough without worrying about it coming apart. Rinse 1st in cold water, then immediately in hot. Repeat this a few times. Your picture should now feel thick and snug.

Once dry, trim off the edges if desired and you have a fantastic, frame worthy, handmade gift for Dad!
HAPPY FATHER’S DAY TO DAD’S EVERYWHERE!