


When you 1st learned to spin, you were probably taught a basic method for creating a 2 ply yarn. You know the one; spin 2 bobbins full of singles and then ply them together using the Lazy Kate that came with your wheel. But have you ever ventured into other methods?
In this post we will explore various ways to produce the same 2 ply yarn without using the Lazy Kate (and why we may want to do this) as well as a couple of 3 and 4 ply techniques that will create uniquely structured yarns and add to your spinning skills. I will be using Kromski Polish Merino for all of my samples.
Let’s begin with Plying From a Center Pull Ball. The 1st question is, “Why would we do this?”. The answer is quite simple – there is no wasted fiber with this method. I’m sure you’ve noticed that after plying from the Lazy Kate, there is usually some singles leftover on one of the bobbins. It’s nearly impossible to spin so accurately as to avoid this. Most of us just toss this small amount into the trash, which is fine unless you’re spinning a very expensive exotic fiber (say Yak or Vicuna!). Who wants to toss out something that yummy?
This is a very simple process. There is no need to divide your fiber for 2 bobbins in the hope of spinning both with the same yardage. Spin only one bobbin of singles. Some people like to let the bobbin sit overnight to let the energy out of the twist. Personally, I don’t do this. Although it may make the ball easier to manage, I think it helps me get a more balanced yarn if the twist is active. You may want to try it both ways to see what works best for you.
When you are ready to ply, place the full bobbin onto the Lazy Kate. Then prepare your wheel for plying – place an empty bobbin on the spindle, pull out the leader and adjust the break tension. Next transfer the singles onto a ball winder. Preparing the wheel 1st is important because once you pick up this ball, you cannot set it down again without inserting something (like a nostopinne) into the center.

Pick up the strand coming from the center of the ball and the end on the outside of the ball. Tie the 2 ends together.

Carefully lift the ball off of the winder. Be certain to keep the center from collapsing by inserting your thumb and pinching it together with a finger.

Keep your thumb in place as you attach it to the leader and spin in the same direction as you would normally ply (the opposite direction of the singles spin). It takes a bit of practice to get the feel of how to manipulate the ball around so that the yarn can be fed into the wheel. You may want to try this with a less expensive yarn 1st. If the center is not kept intact, the whole thing can collapse or pull out as a blob, and then you’ll have a big mess.

When you reach the end you will see – no wasted yarn!
Andean Ply is similar to Plying from a Center Pull Ball. For this method, however, no ball winder is necessary. Just your hands! Begin as before with a bobbin full of singles.
Wind the singles onto your hand (the one that normally holds the roving when spinning) according to the image below. It is helpful if you have a cuff or band to tuck the end of the yarn into. I do not show it here, but it would be at the start of #1. Wind as shown until all of the yarn is on our hand.

Wind LOOSELY. Once all of the yarn is on your hand, slide the loop around your finger off so that it all falls to your wrist.
Now you can ply as usual by grabbing both loose ends and attaching them to your leader. The yarn should pull easily from your wrist.

So far the yarns we have used are ones that are plied back on themselves to achieve the desired 2 ply yarn.
But what if you have a braid and you want to keep the colors together in the ply to make long color repeats as in self striping yarns? You can split the roving and spin 2 bobbins beginning at the same end each time and then ply from the Lazy Kate. But this method assumes that the braid splits evenly and that you spin a consistent thickness. Otherwise, the colors will not line up.
Navajo Ply is a more accurate way of keeping the colors together. This technique creates a 3 ply yarn. It’s almost like making a crochet chain with your hand. Again, spin only one bobbin before we begin. Keep in mind as you spin that the yarn will be 3 times the thickness of the singles, so plan accordingly. Place the bobbin onto the Lazy Kate and attach one end to the leader.
Make a loop and reach through the loop to grasp the yarn, pulling it through as you spin the wheel in the same direction you would for a normal ply.

Make a new loop with the yarn that just came through the 1st loop.

Reach through the new loop and again grab the yarn and pull it through.

Continue in this way until the entire bobbin is plied.
This is a great way to make a gradient yarn or just to keep the colors intact as they are spun.

Now lets take plying to a new level with multiple ply methods!
Let’s start with a Basic 4 Ply. For this you will need to have 5 bobbins. It is possible to wind the singles onto paper tubes if you don’t have enough bobbins, but it is much simpler to do from a bobbin.
Begin by spinning 4 singles, each onto its own bobbin. Naturally your wheel will not have enough room on the Lazy Kate to accommodate all of the bobbins. Place the extras into containers small enough to allow them to spin, but will prevent them from bouncing all over the place. Using one container per bobbin (or wound on paper tube) will prevent them from tangling.
Hold all 4 strands together and ply as usual. Go slow, especially if you are not using a tensioned Lazy Kate. This is a simple technique, however, you will need to pay close attention as it will want to spin tails into itself.

This is the same method used to create our Heart Pillow in the post Fall in Love the the Great Jumbo Flyer. Of course, this can be done using any number of singles you choose! By using more than the usual 2 plies, the yarn becomes quite lofty.
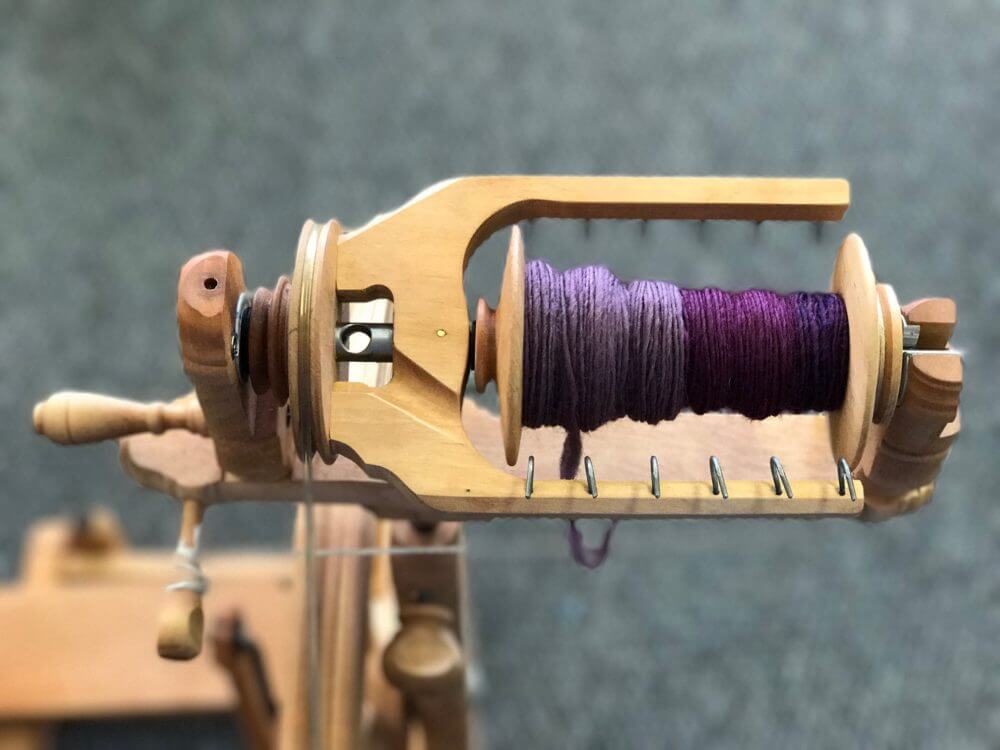
Cabled Ply is a bit more involved. For this type of ply, you will again use 4 singles. From these, make 2 plied yarns, 2 ply each. The plied yarns need to have twice the twist as a normal balanced yarn. This can be done as you ply, or simply run the yarn through the wheel again to add more. This extra energy is important for a balanced finished yarn. Tuck in the ends on each to prevent them from untwisting as soon as you set them down.
Next the 2 over twisted yarns will be plied together. For this ply, spin the wheel back in the original direction that the singles were spun in. They will ply together quickly, so check that it is balanced periodically as you spin.
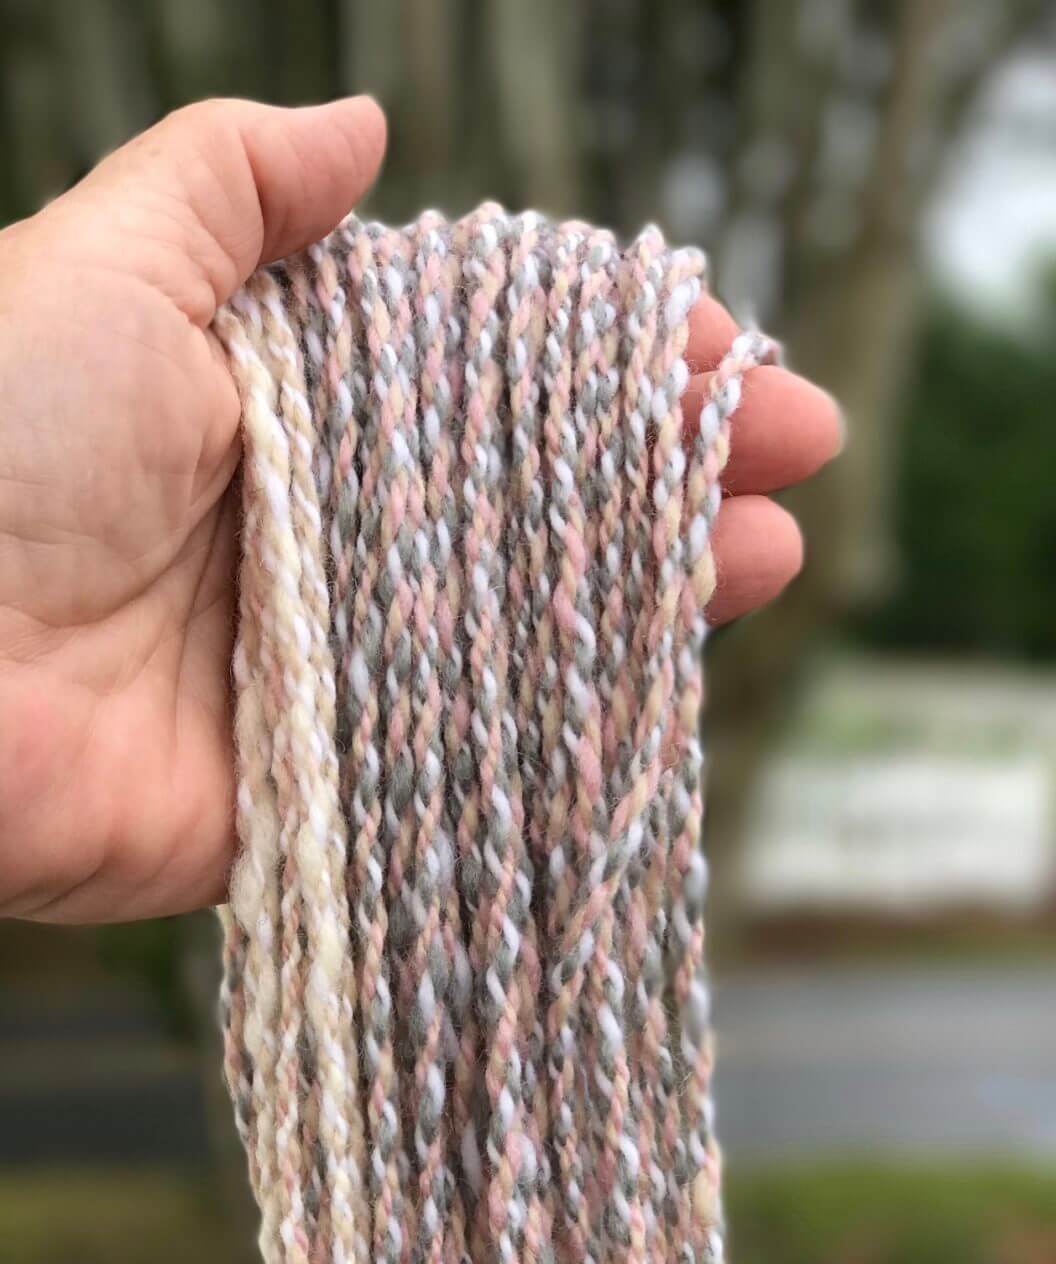
This makes a very different feeling yarn. It is more rope like and quite strong. You will notice great stitch definition in knitting with this yarn.

I ran out of my grey singles, so I continued with the lighter colors, just to see how it would look. As you can see, even one color change can make a huge difference.
So the next time you sit down to spin, think about how you want to ply before you begin. You may want to try one of these methods instead of your usual style!